
The Muffin Method: Why a Lumpy Batter Can Make a Better Muffin
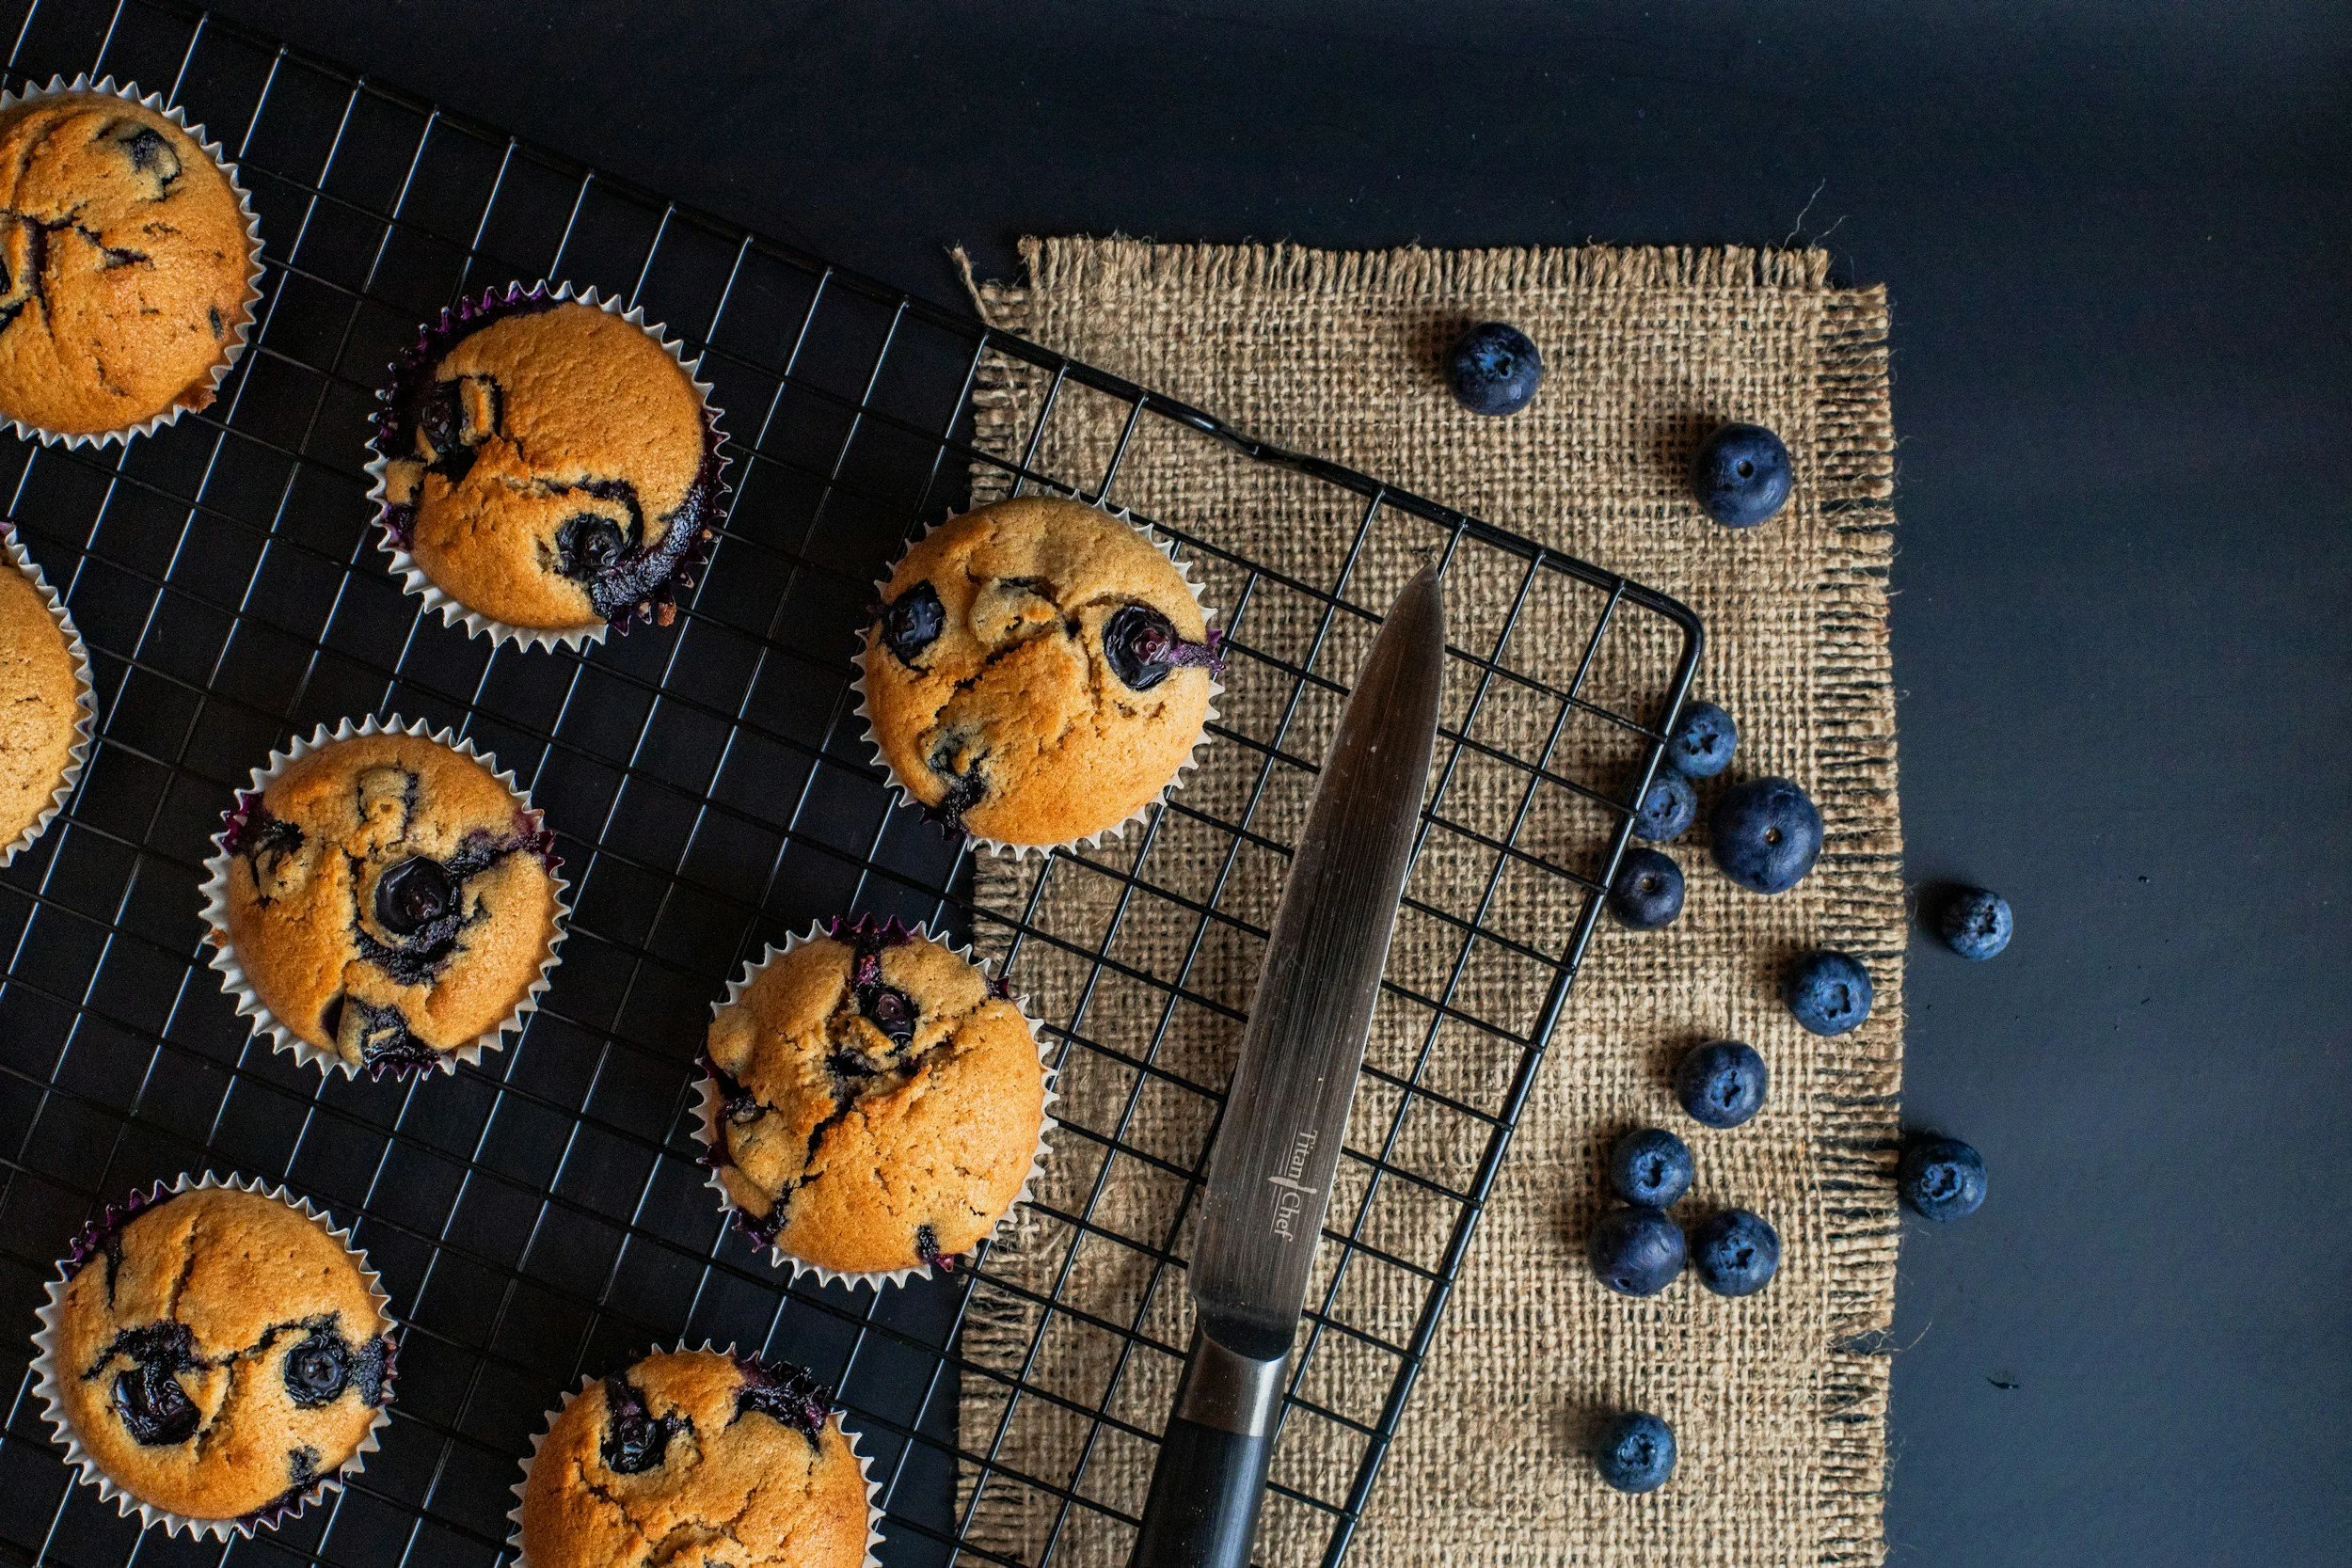
One of the biggest mistakes we make when learning to bake is assuming that every batter should be smooth.
With muffins, that instinct can get us into trouble.
The muffin method is designed to produce a tender, moist muffin with a soft crumb and good rise. And one of the keys to getting that result is knowing when to stop mixing.
In fact, a properly mixed muffin batter may look a little rough and lumpy.
That’s exactly what we want.
What Is the Muffin Method?
The muffin method is a mixing technique in which the dry ingredients are combined in one bowl, the wet ingredients are combined in another, and then the two mixtures are brought together with minimal mixing.
Unlike the creaming method, we aren't beating solid butter and sugar together to incorporate air.
Our rise comes primarily from chemical leaveners such as baking powder and/or baking soda, along with expanding air and steam during baking.
The goal is to create enough structure to support the muffin without developing so much gluten that the muffin becomes tough.
That balance is what makes the muffin method work.
Step 1: Prepare Before You Mix
Before combining anything, get your mise en place together.
Weigh your ingredients.
Prepare your muffin pans.
Preheat the oven.
Have your scoop ready.
If you're adding blueberries, chocolate chips, nuts, streusel, or another inclusion, have those ready too.
Once the wet and dry ingredients come together, we don't want the batter sitting around while we look for a muffin scoop or wait for the oven to preheat.
For the traditional muffin method, I teach:
Mix it. Portion it. Bake it.
Step 2: Combine the Dry Ingredients
In one bowl, thoroughly combine your dry ingredients.
Depending on the recipe, these may include:
Flour
Sugar
Baking powder
Baking soda
Salt
Cocoa powder
Spices
Sift/Whisk these ingredients together well.
This step is more important than it may appear.
We want the baking powder, baking soda, salt, and other dry ingredients evenly distributed throughout the flour before we introduce any liquid.
Once the flour gets wet, we want to minimize our mixing.
So do the thorough mixing now.
I like to make a well in the center of the dry ingredients for the liquid mixture.
Step 3: Combine the Wet Ingredients
Separately In another bowl, combine the wet ingredients.
These might include:
Eggs
Milk
Buttermilk
Yogurt
Sour cream
Oil
Melted butter
Vanilla or other extracts
Whisk these together until they are well combined.
If you're using melted butter, let it cool slightly before combining it with the other ingredients. You don't want extremely hot butter hitting your eggs.
At the same time, very cold ingredients can cause melted butter to solidify into little pieces, so ingredient temperature is worth paying attention to.
Step 4: Wet Meets Dry — And Now Mixing Matters
Pour the wet mixture into the well you've made in the dry ingredients.
Now we get to the most important part of the muffin method:
Do not overmix the batter.
Using a spatula or wooden spoon, gently fold or stir the mixture just until the dry ingredients are moistened.
Scrape across the bottom of the bowl so you don't leave a large pocket of dry flour hiding underneath.
The finished batter may look:
Lumpy
Rough
Thick
Slightly uneven
That's okay.
What we don't want are large pockets of completely dry flour.
But we also don't want to keep stirring until every little lump disappears.
There's an important difference between a lump of batter and a pocket of dry flour.
Dry flour needs to be incorporated.
A few lumps can stay.
Why Does Overmixing Matter So Much?
It comes down to gluten.
When flour is hydrated and mixed, gluten-forming proteins begin creating a network.
That's wonderful when we're making bread.
Bread needs a strong, elastic gluten network.
A muffin doesn't.
We need some structure, of course. The muffin has to be strong enough to hold the gases that expand during baking.
But too much gluten development can give us a muffin that is:
Tough
Chewy
Rubbery
Dense
Irregularly shaped
It can also produce one of the classic signs of an overmixed muffin:
TUNNELS.
Cut open an overmixed muffin and you may see long, narrow holes or channels running vertically through the crumb.
That's not the fine, tender crumb we're looking for.
So when you're standing over that bowl thinking:
"It still looks a little lumpy. Maybe I'll mix it a few more times..."
Put down the spatula.
You're probably done.
Step 5: Adding Fruit, Chocolate, Nuts and Other Inclusions
Inclusions should be incorporated with as little additional mixing as possible.
Depending on the recipe, some ingredients can be combined with the dry ingredients before the wet ingredients are added.
Others are best folded in toward the end.
The important thing is to remember that every additional stir after the flour becomes wet continues to develop gluten.
If you're using frozen blueberries, I generally prefer adding them while they're still frozen rather than thawing them first.
Thawed berries can release a lot of juice and can quickly turn your beautiful muffin batter blue or purple.
Fold berries gently.
We want blueberries in our muffins—not blueberry puree.
Step 6: Panning for Big, Beautiful Muffins
Here's something I do when I want muffins with plenty of room to expand:
I don't fill every well of the muffin pan.
If I'm using a standard 12-well muffin tin, I'll generally bake six muffins at a time, filling alternating wells.
In other words, fill one, leave one empty, fill the next, and continue that pattern.
Why?
I want to give each muffin room.
As the batter rises and the crown expands beyond the top of the muffin cup, spacing the muffins apart allows more room around each muffin and better air circulation.
This is particularly useful when you're trying to produce those larger, bakery-style muffin tops.
It isn't mandatory for every muffin recipe, but it's a technique I use when I want generous, well-developed crowns.
Step 7: Give Them a Hot Start
Another technique I like for bakery-style muffins is beginning with a hotter oven.
For example:
Start the muffins at 400°F for approximately 5 minutes.
Then:
Reduce the oven temperature to 350°F and continue baking until the muffins are done.
Here's the important part:
DO NOT OPEN THE OVEN DOOR WHEN YOU REDUCE THE TEMPERATURE.
Simply turn the oven setting from 400°F down to 350°F and leave the muffins alone.
Why do this?
That initial burst of higher heat encourages rapid expansion early in the bake.
The gases in the batter expand.
Steam develops.
The chemical leaveners are working.
The batter begins climbing upward and developing its crown.
Then we lower the temperature so the inside of the muffin can continue baking and setting without the exterior becoming excessively dark.
Think of it as:
HOT START = encourage the rise
LOWER TEMPERATURE = finish baking and set the structure
The exact temperatures and baking times can vary depending on the formula, muffin size, pan, and oven, so always consider the specific recipe.
But 400°F for about 5 minutes followed by 350°F for the remainder of the bake is a very useful starting technique for bakery-style muffins.
What's Actually Happening Inside the Oven?
There's a lot going on inside that little muffin cup.
The baking powder and/or baking soda produce carbon dioxide.
Existing air bubbles expand.
Water begins turning into steam.
The fat contributes tenderness and richness to the developing crumb
The muffin rises.
Meanwhile, the structure gradually begins to set.
Flour starches absorb moisture and gelatinize.
Egg proteins coagulate.
Eventually, the soft batter becomes a structure strong enough to support itself.
And this explains something important:
A muffin can rise beautifully and still collapse.
If we remove it from the oven before its internal structure has sufficiently set, that beautiful crown may not be able to support itself.
Rise is only half the job.
The structure has to set and hold that rise.
Understanding the Ingredients
Flour
Flour provides structure.
Too much flour can give you a muffin that is dry, dense, or tough.
Too little flour can leave the muffin without enough structure to support its rise.
This is one of the many reasons I prefer weighing ingredients whenever possible.
Fat
Fat provides tenderness, richness, flavor, and moisture perception.
Oil and butter behave differently.
Oil remains liquid at room temperature and often gives muffins a very soft texture that stays moist longer.
Butter contributes wonderful flavor but becomes firm when it cools.
Neither is automatically better. They're simply different tools.
Sugar
Sugar isn't just there to make the muffin sweet.
Sugar also affects:
Tenderness
Moisture retention
Browning
Spread
Crust formation
Structure
Changing the amount of sugar in a muffin recipe can therefore change much more than sweetness.
Eggs
Eggs contribute structure, richness, moisture, color, and emulsification.
As the muffin bakes, egg proteins coagulate and help establish the structure that supports the finished muffin.
Liquid
Liquid hydrates the flour and other dry ingredients and also contributes steam during baking.
Too little liquid can produce a dry, stiff batter.
Too much can create a batter that lacks enough structure and may bake up gummy or collapse.
Baking Powder
Most baking powder used in American baking is double acting.
That means it produces gas in stages—some when it becomes hydrated and more as the batter heats in the oven.
Baking Soda
Baking soda is alkaline and generally needs sufficient acid in the recipe.
Buttermilk, yogurt, sour cream, natural cocoa, molasses, and citrus are examples of ingredients that can contribute acidity.
Baking soda also affects browning and the pH of the batter.
Too much can leave muffins excessively browned with an unpleasant alkaline or soapy flavor.
Troubleshooting Your Muffins
My Muffins Are Tough or Chewy
The first thing I would suspect is overmixing.
You may have developed too much gluten.
Other possibilities include too much flour or a formula containing too little fat or liquid.
Remember:
Once the flour is wet, less mixing is better.
My Muffins Have Long Tunnels Inside
This is another classic sign of overmixing and excessive gluten development.
Mix only until the dry ingredients are moistened.
Don't try to turn muffin batter into smooth cake batter.
My Muffins Are Dense and Didn't Rise
Check several things:
Is your baking powder or baking soda fresh?
Did you measure the leavener correctly?
Was the oven completely preheated?
Was the batter excessively mixed?
Was the batter extremely heavy or wet?
Were the ingredients weighed correctly?
If you're using the hot-start method, make sure the oven has actually reached the starting temperature before the muffins go in.
My Muffins Rose and Then Collapsed
Possible causes include:
Underbaking
Too much leavener
Too much liquid
Too much sugar
Opening the oven too early
A structurally unbalanced recipe
Remember that a muffin needs enough time for its internal structure to set.
A muffin that rises dramatically but cannot support itself will fall.
My Muffins Have Sharp, Pointed Tops
Instead of a nice rounded crown, you've created little volcanoes.
Look at:
Overmixing
Too much flour
Batter that's too stiff
Oven temperature that's too high
An imbalance between the dry and liquid ingredients
My Muffins Spread Sideways
The batter may be too thin or lack sufficient structure.
Possible causes include:
Too much liquid
Too much sugar or fat
Too little flour
Insufficient leavening
Oven temperature too low
My Muffins Are Dry
Before changing the recipe, check the simplest explanation:
Did you bake them too long?
Then investigate:
Too much flour
Too little liquid
Too little fat
Too little sugar
Incorrect oven temperature
A few extra minutes in the oven can make a significant difference in a muffin.
My Muffins Are Gummy Inside
Possible causes include:
Underbaking
Too much liquid
Too much fruit
Excessive fruit juices
Too much sugar
Incorrect flour measurement
A muffin should be moist.
It should not be wet or gummy.
My Fruit Sank to the Bottom
This can happen when the batter is too thin to suspend the fruit.
Large, heavy pieces of fruit can also sink more readily.
Lightly coating fruit with flour can sometimes help, but it isn't magic.
If the batter itself is too thin, flouring the berries isn't going to fix the underlying problem.
My Blueberry Muffins Turned Blue
You probably worked those berries too much.
Fold them in gently and, when appropriate, use frozen berries while they're still frozen.
The less you disturb the berries, the less color they'll release into the batter.
My Streusel Disappeared Into the Muffin
Look at both the streusel and the batter.
The streusel may contain too much fat or may have become too warm and soft.
The batter may also be too thin to support the topping.
You want distinct crumbs of streusel sitting on top—not a warm paste that melts into the muffin.
My Muffins Are Too Dark on the Bottom
Consider:
Oven temperature
Baking time
Pan position
Pan material and color
Dark metal pans absorb heat differently than lighter pans and can produce darker bottoms and sides.
Move the pan away from an intense bottom heat source if necessary.
My Muffins Aren't the Same Size
This one's easy.
Portion consistently.
Use the same scoop for every muffin or, for the greatest accuracy, weigh the batter going into each well.
Professional-looking muffins start with professional portion control.
The Most Important Lesson of the Muffin Method
The muffin method isn't difficult.
But it requires restraint.
We aren't trying to develop gluten.
We aren't trying to beat air into the batter.
And we're definitely not trying to create a perfectly smooth mixture.
We're combining our ingredients efficiently, developing just enough structure, portioning the batter carefully, and allowing the oven to do the rest.
So remember:
Combine the dry ingredients.
Combine the wet ingredients.
Bring wet and dry together.
Mix only until moistened.
Fold in your inclusions gently.
For larger bakery-style muffins, give them some breathing room by filling alternating wells.
Start them in a hot oven, then lower the temperature without opening the door.
And most importantly:
Don't be afraid of a lumpy muffin batter.
When it comes to the muffin method, an imperfect-looking batter can produce a nearly perfect muffin.
HAPPY BAKING FROM THE CABOODLE KITCHEN!