
The Ribbon Method: Building Structure, Volume, and Texture
The ribbon method is one of those baking techniques that looks simple—eggs and sugar are whipped together—but there is quite a bit of science happening in the bowl.
I use the ribbon method primarily in sponge cakes and certain brownie recipes, but I am not using it for exactly the same reason in both.
In a sponge cake, the ribbon method is primarily about creating volume and structure through an egg foam. In brownies, I use it to emulsify the batter, help dissolve and disperse the sugar, incorporate a controlled amount of air, and encourage that beautiful thin, shiny, crackly top.
Understanding that difference is important because simply knowing how to make a ribbon isn't enough. You also need to know why you are making it and how much aeration you actually want.
What Is the Ribbon Method?
The ribbon method begins by whipping eggs and sugar together until the mixture becomes significantly lighter in color, thicker in consistency, and greater in volume.
As the whisk moves through the eggs, it unfolds some of the egg proteins while simultaneously incorporating thousands of tiny air bubbles.
Sugar does more than sweeten the mixture. It helps stabilize the developing egg foam and slows the coagulation of the egg proteins, allowing the foam to develop gradually.
As whipping continues, you will see a dramatic transformation.
The mixture becomes pale and thick. It increases substantially in volume, and the whisk begins leaving visible tracks through the mixture.
Eventually, when you lift the whisk, the egg mixture should fall back into the bowl in a thick, continuous ribbon that rests on the surface for several seconds before slowly disappearing.
That's your ribbon.
One of my favorite ways to demonstrate this is the figure-eight test. Lift the whisk and use the falling mixture to draw a figure eight over the surface. If you can finish the figure eight while the beginning of it is still faintly visible, you have generally reached a good ribbon stage.
But what we do with that ribbon depends upon what we are making.
Using the Ribbon Method for Sponge Cake
With a traditional sponge cake—particularly a whole-egg sponge such as a génoise—the egg foam is one of the primary sources of leavening.
Unlike a traditional butter cake, which may rely heavily on baking powder or baking soda, a classic sponge may contain little or no chemical leavener.
That means we are actually creating much of the cake's potential volume before it ever goes into the oven.
Think about that for a moment.
When you stand at the mixer whipping those eggs and sugar, you aren't simply combining ingredients. You are building the structure that is eventually going to lift your cake.
And once you've created it, your job changes from creating air to protecting the air you've created.
Prepare Your Pan First
Before you begin whipping your eggs, prepare your pan.
This is particularly important with sponge cake because once your batter is finished, you want to get it into the oven promptly. This isn't the time to discover that you haven't cut your parchment or prepared your cake pans.
For a classic foam-dependent sponge cake, I like to:
Lightly grease the bottom of the pan.
Place a parchment round over the bottom. The small amount of grease underneath helps hold the parchment in place.
The parchment itself can be very lightly greased if desired or if your particular formula calls for it.
Leave the sides of the pan clean and ungreased.
Why?
A delicate sponge batter benefits from having something to grip as it rises. Heavily greasing the sides can make it more difficult for the batter to climb and can potentially reduce your finished height.
There are professional sponge and génoise formulas that specify differently, so always follow the requirements of a particular formula. But for a traditional foam-dependent sponge, parchment on the bottom with clean sides is a very useful standard method.
This is also different from angel food and many chiffon cakes, which are typically baked in completely ungreased pans because their delicate foams depend heavily upon gripping the pan during baking.
And don't forget the oven.
Your oven should be completely preheated before you begin making your sponge batter.
My rule is simple:
Pan ready. Oven ready. Ingredients ready. Then start whipping.
Warming the Eggs and Sugar
For a classic whole-egg sponge such as génoise, I like to gently warm the eggs and sugar before whipping.
Combine the eggs and sugar in your mixing bowl and place the bowl over a warm water bath. Whisk or stir continuously while warming so that the eggs don't begin cooking around the edges of the bowl.
A useful target is approximately:
100–110°F (38–43°C)
We aren't trying to cook the eggs.
Warming reduces the viscosity of the egg mixture and helps the sugar dissolve, making it easier to create a large, stable foam.
Once the mixture is warm, begin whipping.
Whip to Full Ribbon Stage
As the eggs and sugar whip, watch the mixture rather than simply watching the clock.
Recipes may give you a suggested whipping time, but mixers are different. Ingredient temperatures are different. Batch sizes are different.
The batter tells you when it's ready.
The mixture should become very pale, thick, and substantially increased in volume.
Lift the whisk.
Does the mixture run off immediately like liquid?
Keep whipping.
Does it fall in a thick ribbon that sits on the surface before slowly disappearing?
Now we're there.
For sponge cake, I want a well-developed ribbon because that egg foam is responsible for a significant amount of the cake's eventual volume.
What Happens When the Sponge Goes Into the Oven?
The whipped eggs contain thousands of tiny air cells.
Once the cake enters the hot oven, those trapped gases begin to expand. Water in the batter also produces steam, contributing additional expansion.
But expansion alone isn't enough.
Something eventually has to hold everything in place.
As the cake heats, egg proteins coagulate and flour starches gelatinize, creating the structure that surrounds those expanded air cells.
Eventually that structure becomes strong enough to support the cake.
So the entire process follows a logical sequence:
Create the air.
Protect the air.
Expand the air.
Set the structure.
That's really the heart of a sponge cake.
Adding the Flour Without Destroying the Foam
Once you've reached ribbon stage, the aggressive mixing is finished.
Your dry ingredients should already be sifted and ready.
Add the flour in portions rather than dumping one heavy pile of flour onto the delicate egg foam.
Now we fold.
Use a large spatula and cut down through the center of the mixture, sweep across the bottom of the bowl, and bring the batter upward and over itself while rotating the bowl.
There is an important distinction here.
I often hear the instruction:
"Fold very gently."
That can actually cause another problem.
Students become so afraid of deflating their eggs that they don't fold enough. Then we end up with pockets of flour hiding at the bottom of the bowl.
The better instruction is:
Fold efficiently and completely.
Use broad, deliberate strokes. Get to the bottom of the bowl. Bring the heavier batter upward. Stop as soon as everything is evenly incorporated.
Every unnecessary fold costs you some air.
But underfolding isn't the answer either.
What About Melted Butter?
A génoise may also contain melted butter, and this is another place where things can go wrong.
Imagine pouring relatively heavy melted butter directly into a bowl filled with delicate egg foam.
The butter wants to sink.
Instead, lighten the butter first.
Place your warm, fluid—but not scorching hot—butter in a separate bowl.
Take a small portion of the finished sponge batter and fold it into the butter. Now you've created an intermediate mixture that is much closer in consistency to your sponge batter.
Fold that mixture back into the main batter.
And once again, check the bottom of the bowl.
If you find a pool of butter sitting underneath your beautiful sponge batter, it wasn't completely incorporated.
Get It Into the Oven
Once your sponge batter is finished, pan it and bake it.
Don't let it sit on the counter while you clean your station.
Don't suddenly remember that you need to cut parchment.
Don't wait for the oven to preheat.
The longer a finished sponge batter sits, the more opportunity there is for its foam structure to weaken.
This is exactly why our mise en place is so important.
Using the Ribbon Method for Brownies
Now let's use the same technique for a completely different product.
When I ribbon eggs and sugar for certain brownies, I'm not trying to turn my brownie into a sponge cake.
Brownies should generally have a much denser structure.
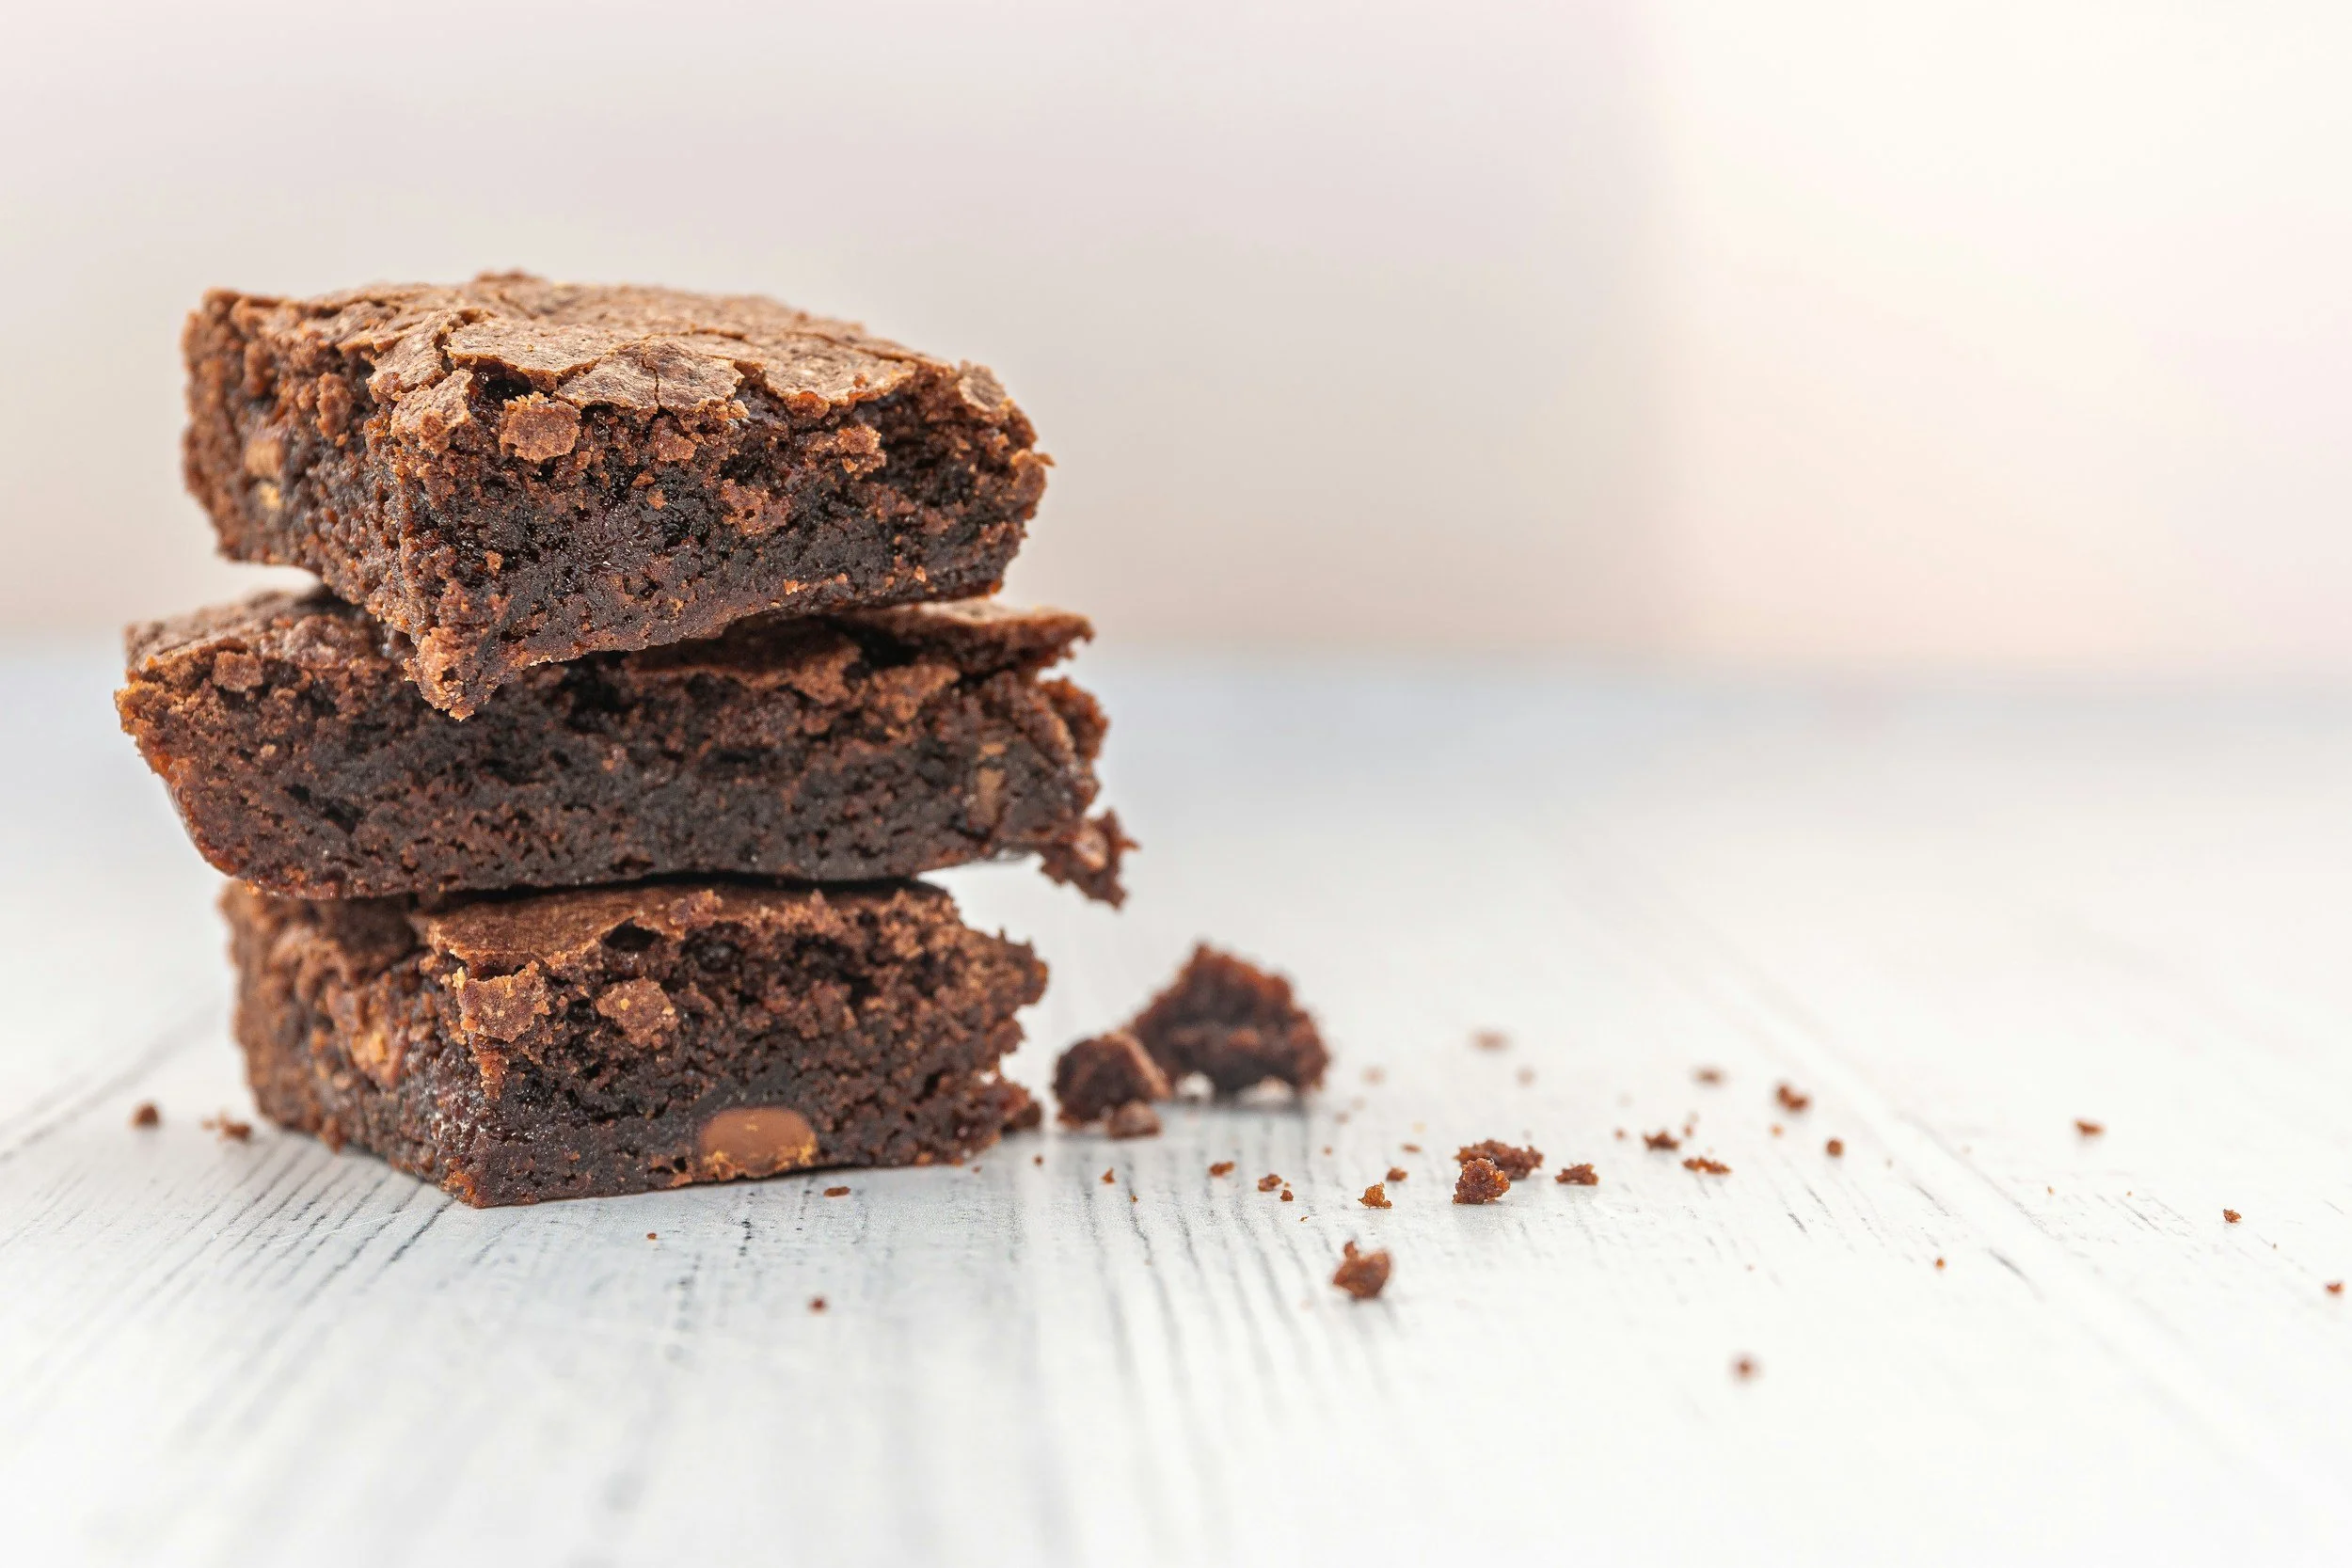
Here, ribboning serves several purposes. It helps thoroughly combine the eggs and sugar, promotes sugar dissolution and dispersion, creates a good emulsion, introduces a controlled amount of air, and can contribute to the development of that beautiful shiny, crackly brownie top.
That last one is especially interesting.
Where Does That Shiny Brownie Top Come From?
That paper-thin, glossy, crackly surface isn't an accident.
Beating the eggs and sugar helps distribute and partially dissolve the sugar while creating a mixture containing sugar, water, egg proteins, and incorporated air.
During baking, a very thin sugar-and-protein-rich film can form at the surface of the brownie. As the brownie expands and eventually settles, that delicate film fractures.
The result is the beautiful shiny, papery, crackly crust we associate with a really good brownie.
The formula itself matters tremendously—the amount and type of sugar, chocolate, fat, and moisture all play a role—so ribboning isn't a magic trick that will give every brownie formula a shiny crust.
But technique absolutely matters.
Don't Overdo the Brownie Ribbon
Here's where sponge cake and brownies really separate.
For sponge cake, I want substantial aeration.
For brownies, I want controlled aeration.
If I whip my brownie eggs and sugar excessively, I can incorporate so much air that I begin moving the texture away from dense and fudgy and toward light and cakey.
So when a brownie recipe calls for ribboning, don't automatically assume that more whipping is better.
It isn't.
The correct amount of aeration depends upon the brownie you're trying to make.
Adding the Chocolate and Butter
Many brownie formulas using this technique also contain melted chocolate and butter.
Temperature matters here.
If the chocolate-butter mixture is screaming hot when it hits the eggs, you risk beginning to cook the egg proteins.
If you allow it to become completely cold, it can become thick and difficult to incorporate.
What I want is:
Warm. Fluid. Easily incorporated. Not hot.
Incorporate it according to your formula, remembering that some loss of volume is perfectly normal.
We're making brownies, not génoise. We do not need to preserve every single air bubble.
Once the Flour Goes In, Everything Changes
This is one of the most important lessons in the brownie version of the ribbon method.
Before adding flour, I may intentionally mix quite vigorously.
After adding flour, I don't.
Once flour becomes hydrated, continued mixing encourages gluten development.
Excessive mixing at this stage can give you a brownie that is tougher or more elastic than you intended.
So think of brownie mixing as having two very different personalities:
Before flour: vigorous mixing may be intentional.
After flour: mix only until everything is incorporated.
That one distinction can make a tremendous difference in your finished brownies.
Sponge Cake vs. Brownies: The Big Difference
If you remember nothing else, remember this:
SPONGE CAKE:
We ribbon primarily to create and stabilize the air that will help lift the cake.
BROWNIES:
We ribbon primarily to manipulate emulsification, sugar behavior, texture, crust formation, and controlled aeration.
Same technique.
Different job.
Troubleshooting the Ribbon Method
My Sponge Cake Is Short and Dense
Your eggs may not have reached a true ribbon stage, or you may have lost too much of the incorporated air during folding.
The batter may also have sat too long before baking.
What to do: Develop a full ribbon, fold efficiently, and bake the batter promptly.
My Sponge Didn't Rise Well Around the Edges
Check your pan preparation.
If you heavily greased the sides, the delicate batter may not have had enough grip as it expanded.
What to do: For this style of sponge, line the bottom with parchment and leave the sides clean unless your particular formula specifies otherwise.
My Egg Mixture Looked Gorgeous Until I Added the Flour
You probably lost too much air during incorporation.
The flour may have been dumped in all at once or the batter may have been stirred rather than folded.
What to do: Sift the flour, add it in portions, and use broad, efficient folding strokes.
I Have Pockets of Flour in My Sponge
You underfolded.
Being afraid to deflate the batter can actually cause you to stop too soon.
What to do: Get your spatula all the way to the bottom of the bowl and fold until the batter is completely homogeneous.
There's Butter Sitting at the Bottom of My Génoise
The melted butter was not properly incorporated.
What to do: Lighten the butter first by mixing a small amount of sponge batter into it before folding that mixture back into the main batter.
My Sponge Rose and Then Collapsed
The cake may have been underbaked and its internal structure had not yet set sufficiently. Excessive loss of foam during mixing or disturbing the cake too early in baking can also contribute.
Remember that the cake's proteins and starches must set firmly enough to support its expanded structure.
My Sponge Is Tough or Rubbery
You may have mixed too aggressively after adding the flour.
What to do: Once the flour enters the batter, fold only until everything is evenly incorporated.
My Eggs Won't Reach Ribbon Stage
Check the temperature of your eggs, whipping time, and equipment.
For a whole-egg sponge, gently warming the eggs and sugar can make foam development considerably easier.
And don't judge exclusively by the clock.
Look at the mixture. Perform the ribbon test.
My Brownies Don't Have a Shiny, Crackly Top
First, look at your egg-and-sugar stage. The eggs and sugar may not have been sufficiently mixed or the sugar may not have been adequately dispersed and dissolved.
But remember that the formula matters too. Sugar quantity and type, chocolate, fat, and moisture all affect crust formation.
Ribboning helps create the conditions for a shiny crust, but it cannot force an unsuitable formula to produce one.
My Brownies Are Too Cakey
You may have incorporated too much air during the ribbon stage.
What to do: Reduce the intensity or duration of whipping.
For brownies, we're generally looking for controlled aeration—not maximum aeration.
My Brownies Are Tough Instead of Fudgy
Look at what happened after you added the flour.
Excessive mixing after flour is hydrated can encourage gluten development.
What to do: Mix only until the flour disappears.
My Chocolate Didn't Incorporate Smoothly
The chocolate-butter mixture may have cooled too much and become thick.
What to do: Keep it warm and fluid enough to incorporate easily without being hot enough to cook the eggs.
I Have Little Pieces of Cooked Egg in My Brownie Batter
Your chocolate-butter mixture was probably too hot when you added it to the eggs.
What to do: Let the chocolate mixture cool until it is warm and fluid before combining it with the egg mixture.
My Brownie Batter Lost Some Volume When I Added the Chocolate
That's not necessarily a problem.
Chocolate and butter are heavy ingredients, and some volume loss is expected.
Remember: we are not trying to preserve brownie foam with the same intensity that we preserve a sponge-cake foam.
My Brownies Have Large Air Pockets or Became Very Puffy
You may have over-aerated the eggs.
More whipping isn't always better.
For a fudgier brownie, reduce the amount of air incorporated during the ribbon stage.
The Bottom Line
When something goes wrong with the ribbon method, ask yourself when it went wrong.
Did I create enough foam?
Did I create too much foam for the product I was making?
Did I properly incorporate my heavier ingredients?
Did I underfold?
Did I overmix after adding flour?
Was my pan prepared and my oven ready before I started?
Did I bake long enough for the structure to set?
Once you understand what the ribbon method is actually accomplishing, it stops being simply an instruction to "beat eggs and sugar until thick."
For a sponge cake, you are deliberately constructing an egg foam capable of helping lift an entire cake.
For brownies, you are using that same fundamental technique in a more controlled way to influence sugar, emulsification, aeration, texture, and that gorgeous crackly crust.
The technique may be the same, but understanding its purpose is what gives you control over the final product.