
My Exclusive Caboodle Kitchen Sugar Cookie Recipe
Preheat oven to 350 degrees
Ingredients:
1 lb. room temp salted butter (453 grams) Use butter that is cool and pliable, approx. 65-68 degrees Fahrenheit. It should indent when pressed but should not look shiny or greasy.
1 cup granulated sugar (200 grams)
1 cup packed light brown sugar (200 grams)
1 tsp salt
2 eggs room temp
2 tbsp Cookie Nip (available at cookienip.com and Amazon) OR substitute with your vanilla extract of choice
6 cups all-purpose flour (720 grams)
½ cup (100 grams) turbinado sugar (available at your local grocer) This is a coarse granulated sugar. Sometimes referred as “raw” sugar. It has a brown hue. Adding this sugar towards the end of the mixing process allows the cookie to have a very slight crunch after it is baked. It adds a nice texture to this sugar cookie.
Instructions:
Beat butter for a minute or two with the paddle attachment at med speed
Add both sugars, and salt. Beat again on med speed until fluffy. Make sure you cream these ingredients for 2-3 minutes. Scrape the bowl at least once in between. The mixture should become lighter and creamy, but don’t continue whipping simply to make it extremely fluffy.
Add eggs, one at a time. Incorporate after each egg until each egg has disappeared into the butter mixture before adding the next egg
And flavoring and beat again to incorporate. Scrape sides
Add 3 cups (360 grams) of flour. Beat until just incorporated. Scrape sides
Add the remaining 3 cups of flour and the turbinado sugar. Beat again until incorporated. Scrape sides and let mix a few seconds longer. If the dough is coming away from the sides of the bowl, you have added enough flour. If the dough remains excessively sticky after all 720 grams have been incorporated, add additional flour 1–2 tablespoons at a time, mixing briefly after each addition, just until the dough becomes cohesive and begins pulling away from the bowl.
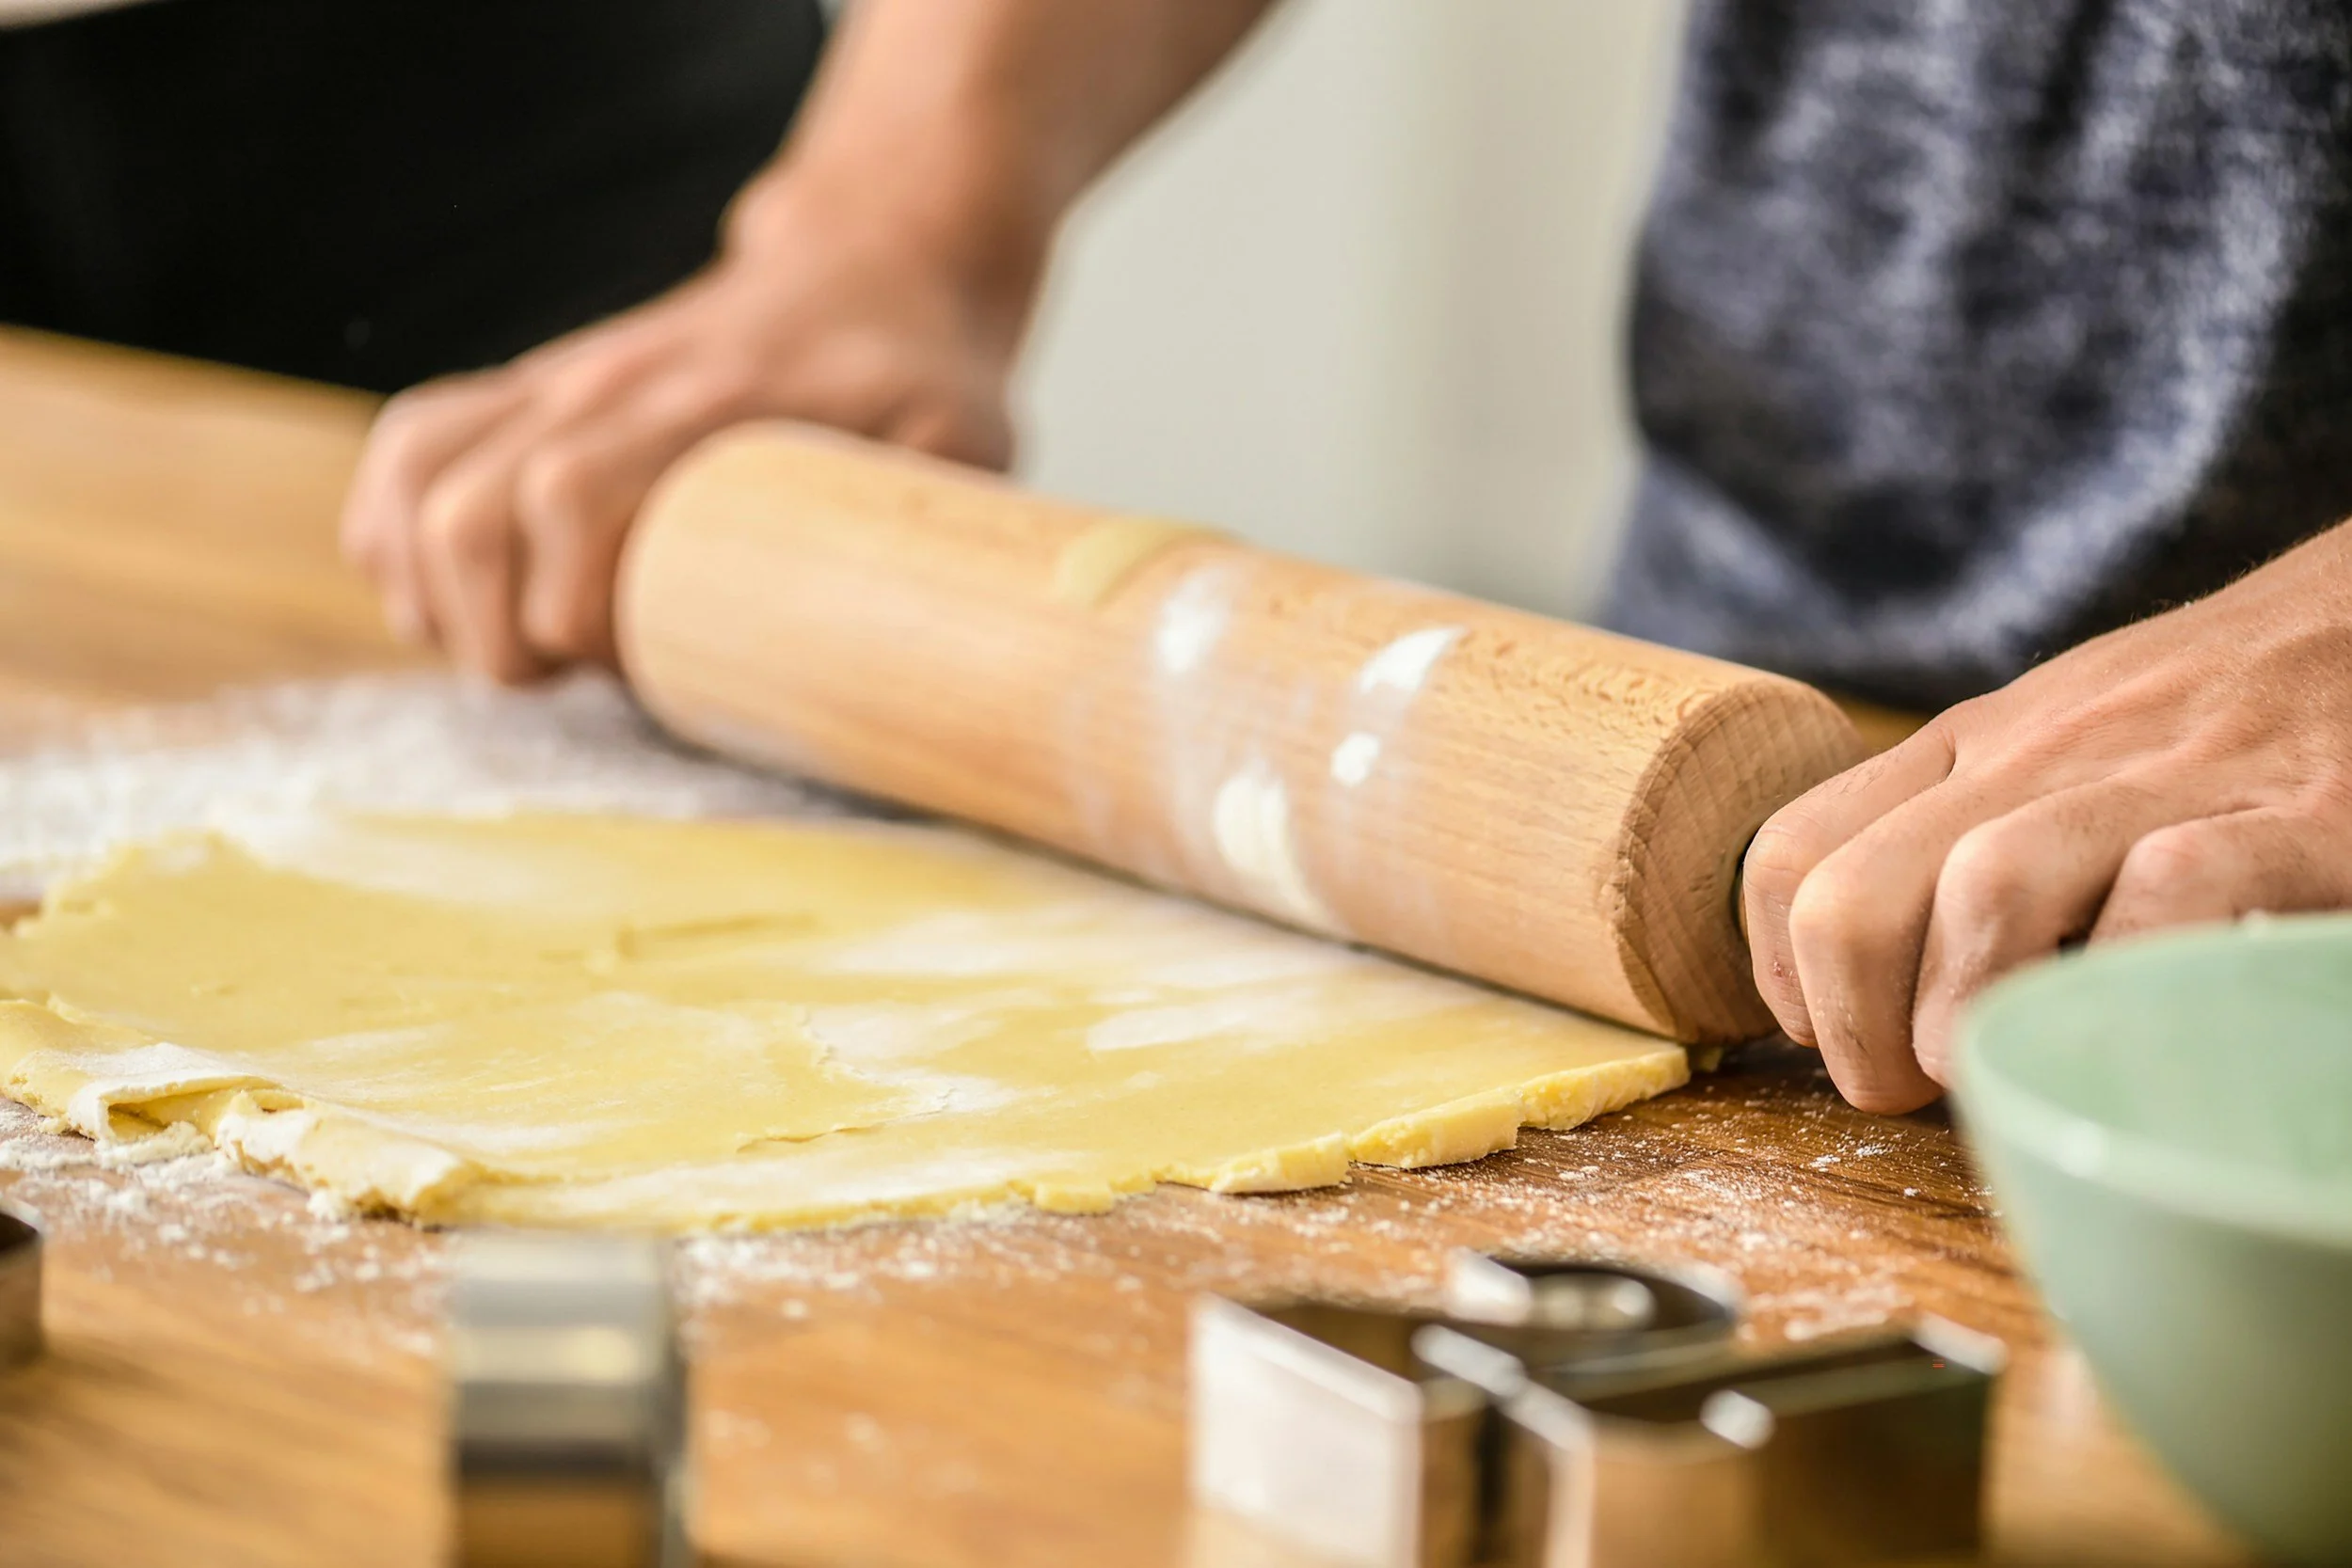
Divide the dough into manageable portions and then roll dough between two sheets of parchment paper to the desired thickness using a graduated rolling pin. I like a thicker cookie so I roll to 3/8 of an inch. The thicker you roll the less cookies can be made from a batch. Note: Rolling at 3/8 of an inch will yield about 30 3 – 3.5-inch cookies for this recipe. I like a substantial cookie and one that will hold up to the royal icing to be added later. Cut desired shapes and transfer to a parchment lined or perforated silicone mat lined baking sheet. Make sure the baking sheet is a light-colored aluminum for best results. (A dark baking sheet will cause cookies to brown quicker.) Transfer the baking sheet to the freezer for 15 - 20 min or until dough is firm, and then bake right from the freezer. If you need to bake much later or another day, cover the cookies with plastic wrap and freeze until you are ready to bake. Again, bake directly from the freezer. Baking from the freezer lowers the chance of cookies spreading.
Bake 12-15 min at 350 degrees or to desired doneness for your taste. If they no longer look wet or shiny on top and the cookie looks set through the center, they should be done. If you prefer a firmer, more caramelized cookie then you should extend the bake slightly. After you take them out of the oven, you can leave them on the cookie sheet a bit longer to finish cooking. Transfer cookies to cooling rack. Once cooled, they are ready to decorate.
Always place frozen cutouts onto a cool baking sheet. Do not place frozen dough onto a pan that is still warm from the previous batch. A warm sheet immediately starts melting the butter on the bottom and can undermine the whole freeze-to-control-spread technique that we are working so hard to maintain.
If the cookies seem to have puffed up in the center, take your spatula and gently pat it down. This will help your cookies be flat and level when it’s time to ice them. If for some reason they puff a bit and I forget to flatten them when they come out of the oven, I will decorate the bottom side. The bottom is always perfectly flat.
Why This Recipe Works: The Science Behind My Caboodle Kitchen Sugar Cookie
I've made a lot of sugar cookies over the years, and one of the things I've learned is that a good decorated sugar cookie isn't simply a sweet dough that happens to hold icing.
For me, the cookie underneath the decoration matters just as much as what goes on top of it.
I want a cookie that has flavor. I want a little texture when you bite into it. I want it sturdy enough to decorate, package and handle without being hard or dry. And, perhaps most importantly for a decorated cookie, I want the cookie that comes out of the oven to look remarkably similar to the cookie I put into it.
That is why my Caboodle Kitchen Sugar Cookie recipe is formulated the way it is.
There are no accidental ingredients in this recipe. The combination of butter, granulated sugar, brown sugar, turbinado sugar, eggs and all-purpose flour—and even what I intentionally leave OUT of the recipe—contributes to the final cookie.
So, let's talk about why it works.
Why I Start with Room-Temperature Butter
My recipe begins with one pound—453 grams—of room-temperature salted butter.
But "room temperature" doesn't mean melted, greasy or extremely soft.
Ideally, the butter should be cool but pliable. When you press it gently with your finger, you should be able to make an indentation, but the butter should still hold its shape.
This matters because we are using the creaming method.
During creaming, the sugar crystals cut into the softened butter and create thousands of tiny air pockets. The butter needs to be soft enough to allow this to happen, but still firm enough to hold those pockets.
Butter that is too cold won't cream efficiently.
Butter that is too warm can become greasy and won't hold the same structure. Warm butter also makes a softer dough and can contribute to excessive spreading in the oven.
That's why I beat the butter briefly first and then add the sugars and salt, continuing to cream the mixture for approximately 2–3 minutes.
I'm looking for a mixture that is lighter and somewhat fluffy, but I'm not trying to whip enormous amounts of air into it. Remember, this is a cutout cookie. We want some aeration and tenderness, but we also want controlled spread and a relatively flat surface for decorating.
Why the Eggs Should Be Room Temperature Too
Temperature matters when we add the eggs because we're asking ingredients that naturally don't want to mix—fat and water—to form a stable emulsion.
Butter is largely fat. Eggs contain a significant amount of water.
If very cold eggs are added to properly softened butter, they can suddenly chill the butter and cause the mixture to look curdled or separated.
Room-temperature eggs incorporate much more readily.
I add the eggs one at a time, allowing the first egg to become incorporated before adding the second. This helps maintain the emulsion instead of overwhelming the butter mixture with liquid all at once.
Once the eggs are incorporated, I add the flavoring.
At this point, scrape the bowl thoroughly. Don't forget the bottom of the bowl. Unmixed butter frequently hides there, particularly when using a stand mixer.
Why I Use Both Granulated AND Brown Sugar
This is one of the characteristics that makes this recipe different from many traditional cutout sugar cookies.
I use:
200 grams granulated sugar
and
200 grams packed light brown sugar.
They aren't interchangeable because they contribute different things to the finished cookie.
Granulated sugar gives sweetness and contributes to the cookie's structure and texture.
Brown sugar contains molasses. That small amount of molasses brings additional flavor, color and moisture to the cookie.
It gives the cookie a deeper, more rounded flavor than granulated sugar alone.
Brown sugar is also hygroscopic, meaning it attracts and holds moisture. That helps give the interior of the cookie a slightly softer, more pleasant texture.
This is one reason I don't consider this merely a blank canvas for royal icing. I want the cookie itself to taste good enough that I would happily eat it without icing.
The combination of white and brown sugar gives me the characteristics I want from both.
And Then There's the Turbinado Sugar
This is one of my favorite parts of the recipe.
I add 100 grams—approximately 1/2 cup—of turbinado sugar.
Turbinado is a coarse, minimally refined cane sugar with relatively large crystals and a subtle molasses flavor.
Because those crystals are much larger than regular granulated sugar crystals, they don't behave exactly the same way in the dough.
Some of those larger crystals remain perceptible after baking.
The result isn't a hard or crunchy cookie. Instead, you occasionally get a very subtle little crunch within an otherwise tender cookie.
It gives the cookie texture.
That contrast is intentional.
Rather than adding all of the turbinado sugar during the initial creaming process, I incorporate it with the flour. I don't want to pulverize all of those beautiful coarse crystals during several minutes of creaming. I want some of that crystalline texture to survive.
It's a small ingredient choice, but it gives this cookie some personality.
Why All-Purpose Flour?
I use 720 grams—approximately six cups—of all-purpose flour.
Why not cake flour?
Why not bread flour?
Because all-purpose flour sits right in the middle.
Cake flour has a relatively low protein content and produces very tender baked goods. That's wonderful for cakes, but I need more structure from a decorated cookie.
Bread flour has considerably more protein and therefore greater gluten-forming potential. That's exactly what I want when I'm making bread, but excessive gluten development can make a cookie unnecessarily tough.
All-purpose flour gives me the balance I'm looking for.
It provides enough protein to build a cookie that holds a clean cutter shape, can be picked up, decorated, packaged and transported—but still produces a pleasant bite when handled correctly.
And that last part is important.
Once flour is added, we don't want to beat the dough endlessly.
Flour contains the proteins that form gluten when hydrated and mechanically worked. The more aggressively we mix after adding flour, the greater the potential for gluten development.
So once the flour goes in, our objective changes.
We're no longer "creaming."
We're simply mixing until everything comes together.
Why I Add the Flour in Two Additions
I add approximately half of the flour first.
Once that is incorporated, I add the remaining flour and turbinado.
This makes a large batch of dough. Adding all six cups of flour at once can create a flour cloud and makes it more difficult to incorporate the flour evenly without overworking portions of the dough.
Adding it in stages gives me greater control.
After the second addition, scrape the bowl thoroughly and allow the mixer to run only long enough to bring everything together.
Now comes one of the most important parts of this recipe:
Look at the dough.
Your Dough Gets the Final Vote
The 720 grams of flour in my recipe is the target amount.
It isn't necessarily a commandment.
Flour and dough are affected by the environment around us.
Someone making this recipe in humid Florida may not experience exactly the same dough as someone making it in extremely dry Arizona.
Flour is hygroscopic—it absorbs moisture from its surroundings. Relative humidity, how your flour has been stored, temperature and even the particular brand and batch of flour can influence how the dough behaves.
There are other variables too. Large eggs aren't identical. Butter contains some water and can vary somewhat between brands. Even the way flour is measured can introduce significant differences if you're measuring by volume rather than weight.
This is exactly why I strongly recommend weighing flour in grams.
But even when weighing, I still evaluate the dough.
I'm looking for dough that begins pulling cleanly away from the sides of the mixing bowl. It should be cohesive and rollable rather than wet, sticky or greasy.
If the dough is clearly too soft or sticky, I can add additional flour gradually.
Don't dump another cup of flour into it.
Add a small amount, mix briefly and reassess.
The goal isn't to force a predetermined quantity of flour into the dough.
The goal is to recognize what properly mixed cookie dough looks and feels like.
That is one of those baking skills that eventually becomes instinctive.
A Word About Humidity
People sometimes hear "humid day" and assume that means they should automatically add more flour.
Don't.
Let the dough tell you.
In a humid environment, ingredients and flour storage conditions can result in a softer or stickier dough, and you may indeed find that a little additional flour is necessary.
In an extremely dry environment, adding that same extra flour could produce a dry, crumbly cookie.
This is why recipes are formulas, but bakers still have to bake.
Use the formula as your starting point and learn to read your dough.
Why There Is NO Baking Powder or Baking Soda
You'll notice something missing from this recipe.
There is no baking powder.
There is no baking soda.
That's completely intentional.
Chemical leaveners produce gas inside dough.
That's extremely useful when I want a cake, muffin or another baked product to rise and expand.
It isn't particularly helpful when I've just spent time cutting a cookie into a very specific shape.
For decorated cookies, expansion can mean rounded edges, distorted shapes and a puffier surface.
I want clean edges.
I want the points on a star to remain points.
I want the ears on an animal cookie to stay where I put them.
And if I'm making a cookie to fit a particular design, I want that cutter shape preserved as closely as possible.
By eliminating chemical leaveners, I remove one significant source of expansion.
That doesn't mean the cookies contain absolutely no air. Remember, we incorporated some air during creaming. Steam is also generated as the water naturally present in the butter and eggs heats in the oven.
But we're deliberately controlling the amount of expansion.
This is a decorated sugar cookie. Shape retention is part of the formula.
Why I Roll the Dough Between Parchment
I roll the finished dough between two sheets of parchment paper.
This accomplishes several things.
First, it prevents sticking without requiring me to continually dust the work surface with additional flour.
Every time you flour the counter and roll dough through that flour, you're potentially incorporating additional flour into the dough. After several rounds of rerolling scraps, the final cookies can become noticeably drier and tougher than the first ones.
Parchment dramatically reduces that problem.
It also makes the dough easier to move and helps me roll to a very consistent thickness.
I prefer a substantial cookie, so I typically roll mine approximately 3/8 inch thick.
That produces a cookie with enough thickness to give me the texture I like while also providing a sturdy base for decorating.
At that thickness, this recipe yields approximately 30 cookies when using cutters around 3–3 1/2 inches, although your yield will obviously change with the size and shape of your cutters.
Why I Freeze My Cut Cookies
Once the cookies are cut and placed on the baking sheet, they go into the freezer.
This step is important.
When cookie dough enters the oven, two things begin competing with each other.
The fat starts to melt.
At the same time, the cookie's structure begins to set.
If the butter melts and the dough becomes fluid before enough structure has developed, the cookie spreads.
Chilling—and especially briefly freezing—the cut cookies give us a head start.
The butter is very firm when the cookie enters the oven. That means it takes longer for the fat to melt, giving the outside of the cookie more time to begin setting before the dough can spread significantly.
That's exactly what we want when we're trying to preserve a detailed cutter shape.
I freeze my cut cookies for approximately 15 minutes before baking.
If I'm preparing them well in advance, I cover the frozen cutouts well and keep them frozen until I'm ready to bake.
And here's the important part:
I bake them directly from frozen.
I don't thaw them first.
If you thaw them, you've just given up much of the advantage you created by freezing them.
Freezer to oven.
Does Resting the Dough Improve Flavor?
Yes—but I distinguish this from the reason I freeze my cut cookies.
Resting cookie dough gives the flour time to hydrate more evenly and allows the ingredients and flavors to become more integrated. In some cookie formulas, a longer refrigerated rest can produce noticeable changes in flavor, browning and texture.
That's a different phenomenon from freezing the cut cookies for shape retention.
You certainly can prepare this dough ahead and refrigerate it, properly wrapped, before rolling.
But for this particular recipe, I consider the freezer step after cutting primarily a spread-control technique.
Flavor development is a bonus of resting.
Shape retention is why I'm freezing.
Why I Prefer Light-Colored Aluminum Baking Sheets
The pan underneath your cookie matters too.
I prefer a light-colored aluminum baking sheet lined preferably with a perforated silicone baking mat. You can also use parchment. Perforated silicone baking mats provide a more even bake in my opinion and a side benefit is the professional look to the bottom of your cookies.
Dark baking sheets absorb radiant heat more readily and can cause the bottoms of cookies to brown faster.
That isn't necessarily "wrong," but it gives me less control over a pale decorated sugar cookie.
A light aluminum pan lined with a perforated silicone baking mat gives me the more even, predictable bake I'm looking for.
How I Know the Cookies Are Done
I bake these cookies at 350°F for approximately 12–15 minutes, depending on their size, thickness, the pan I'm using and my oven.
But I don't bake exclusively by the clock.
I look at the cookie.
The surface should no longer appear wet or shiny. The cookie should look set.
If you prefer more caramelization on the underside and a slightly firmer cookie, you can bake a little longer.
If you prefer a softer cookie, pull it earlier once the structure has set.
Remember that cookies continue cooking briefly from residual heat after the pan leaves the oven.
I often allow them to sit on the baking sheet for a few minutes before transferring them to a cooling rack.
What If the Centers Puff?
Occasionally a cookie may develop a slight puff or dome in the center.
Don't panic.
While the cookie is still hot and pliable, I simply take a flat spatula and gently press the surface.
I'm not smashing the cookie.
I'm just leveling it.
This gives me the nice flat decorating surface I want for royal icing.
And I have one more little trick.
If I happen to miss one and discover later that the top isn't as level as I'd like, I turn the cookie over.
The underside is beautifully flat.
There is absolutely no rule saying you can't decorate the bottom of a cookie.
Sometimes the best baking solutions are the simplest ones.
The Bigger Lesson: Learn to Read Your Dough
Recipes give us measurements, temperatures and times.
But becoming a better baker means learning to recognize what those numbers are trying to produce.
That's especially true with cookie dough.
Pay attention to how the butter feels before you begin.
Watch what happens during creaming.
Notice how the mixture changes after each egg.
Look at the dough after the first addition of flour.
Feel it after the second.
Notice how it behaves under your rolling pin.
Then watch what happens when that frozen cookie hits a properly preheated oven.
Eventually, you stop simply following the recipe.
You understand it.
And that's really the goal.
The Caboodle Kitchen Sugar Cookie isn't formulated simply to make a cookie that tastes good. It's designed specifically for the decorated-cookie process: enough structure to hold intricate shapes, enough tenderness to be enjoyable to eat, brown sugar for moisture and deeper flavor, turbinado sugar for that little bit of texture, and no chemical leavening to interfere with the shape we worked so hard to create.
That's why every ingredient—and every step—is there.
HAPPY BAKING FROM THE CABOODLE KITCHEN!