
The Biscuit & Scone Method: Why Cold Butter and a Light Hand Matter
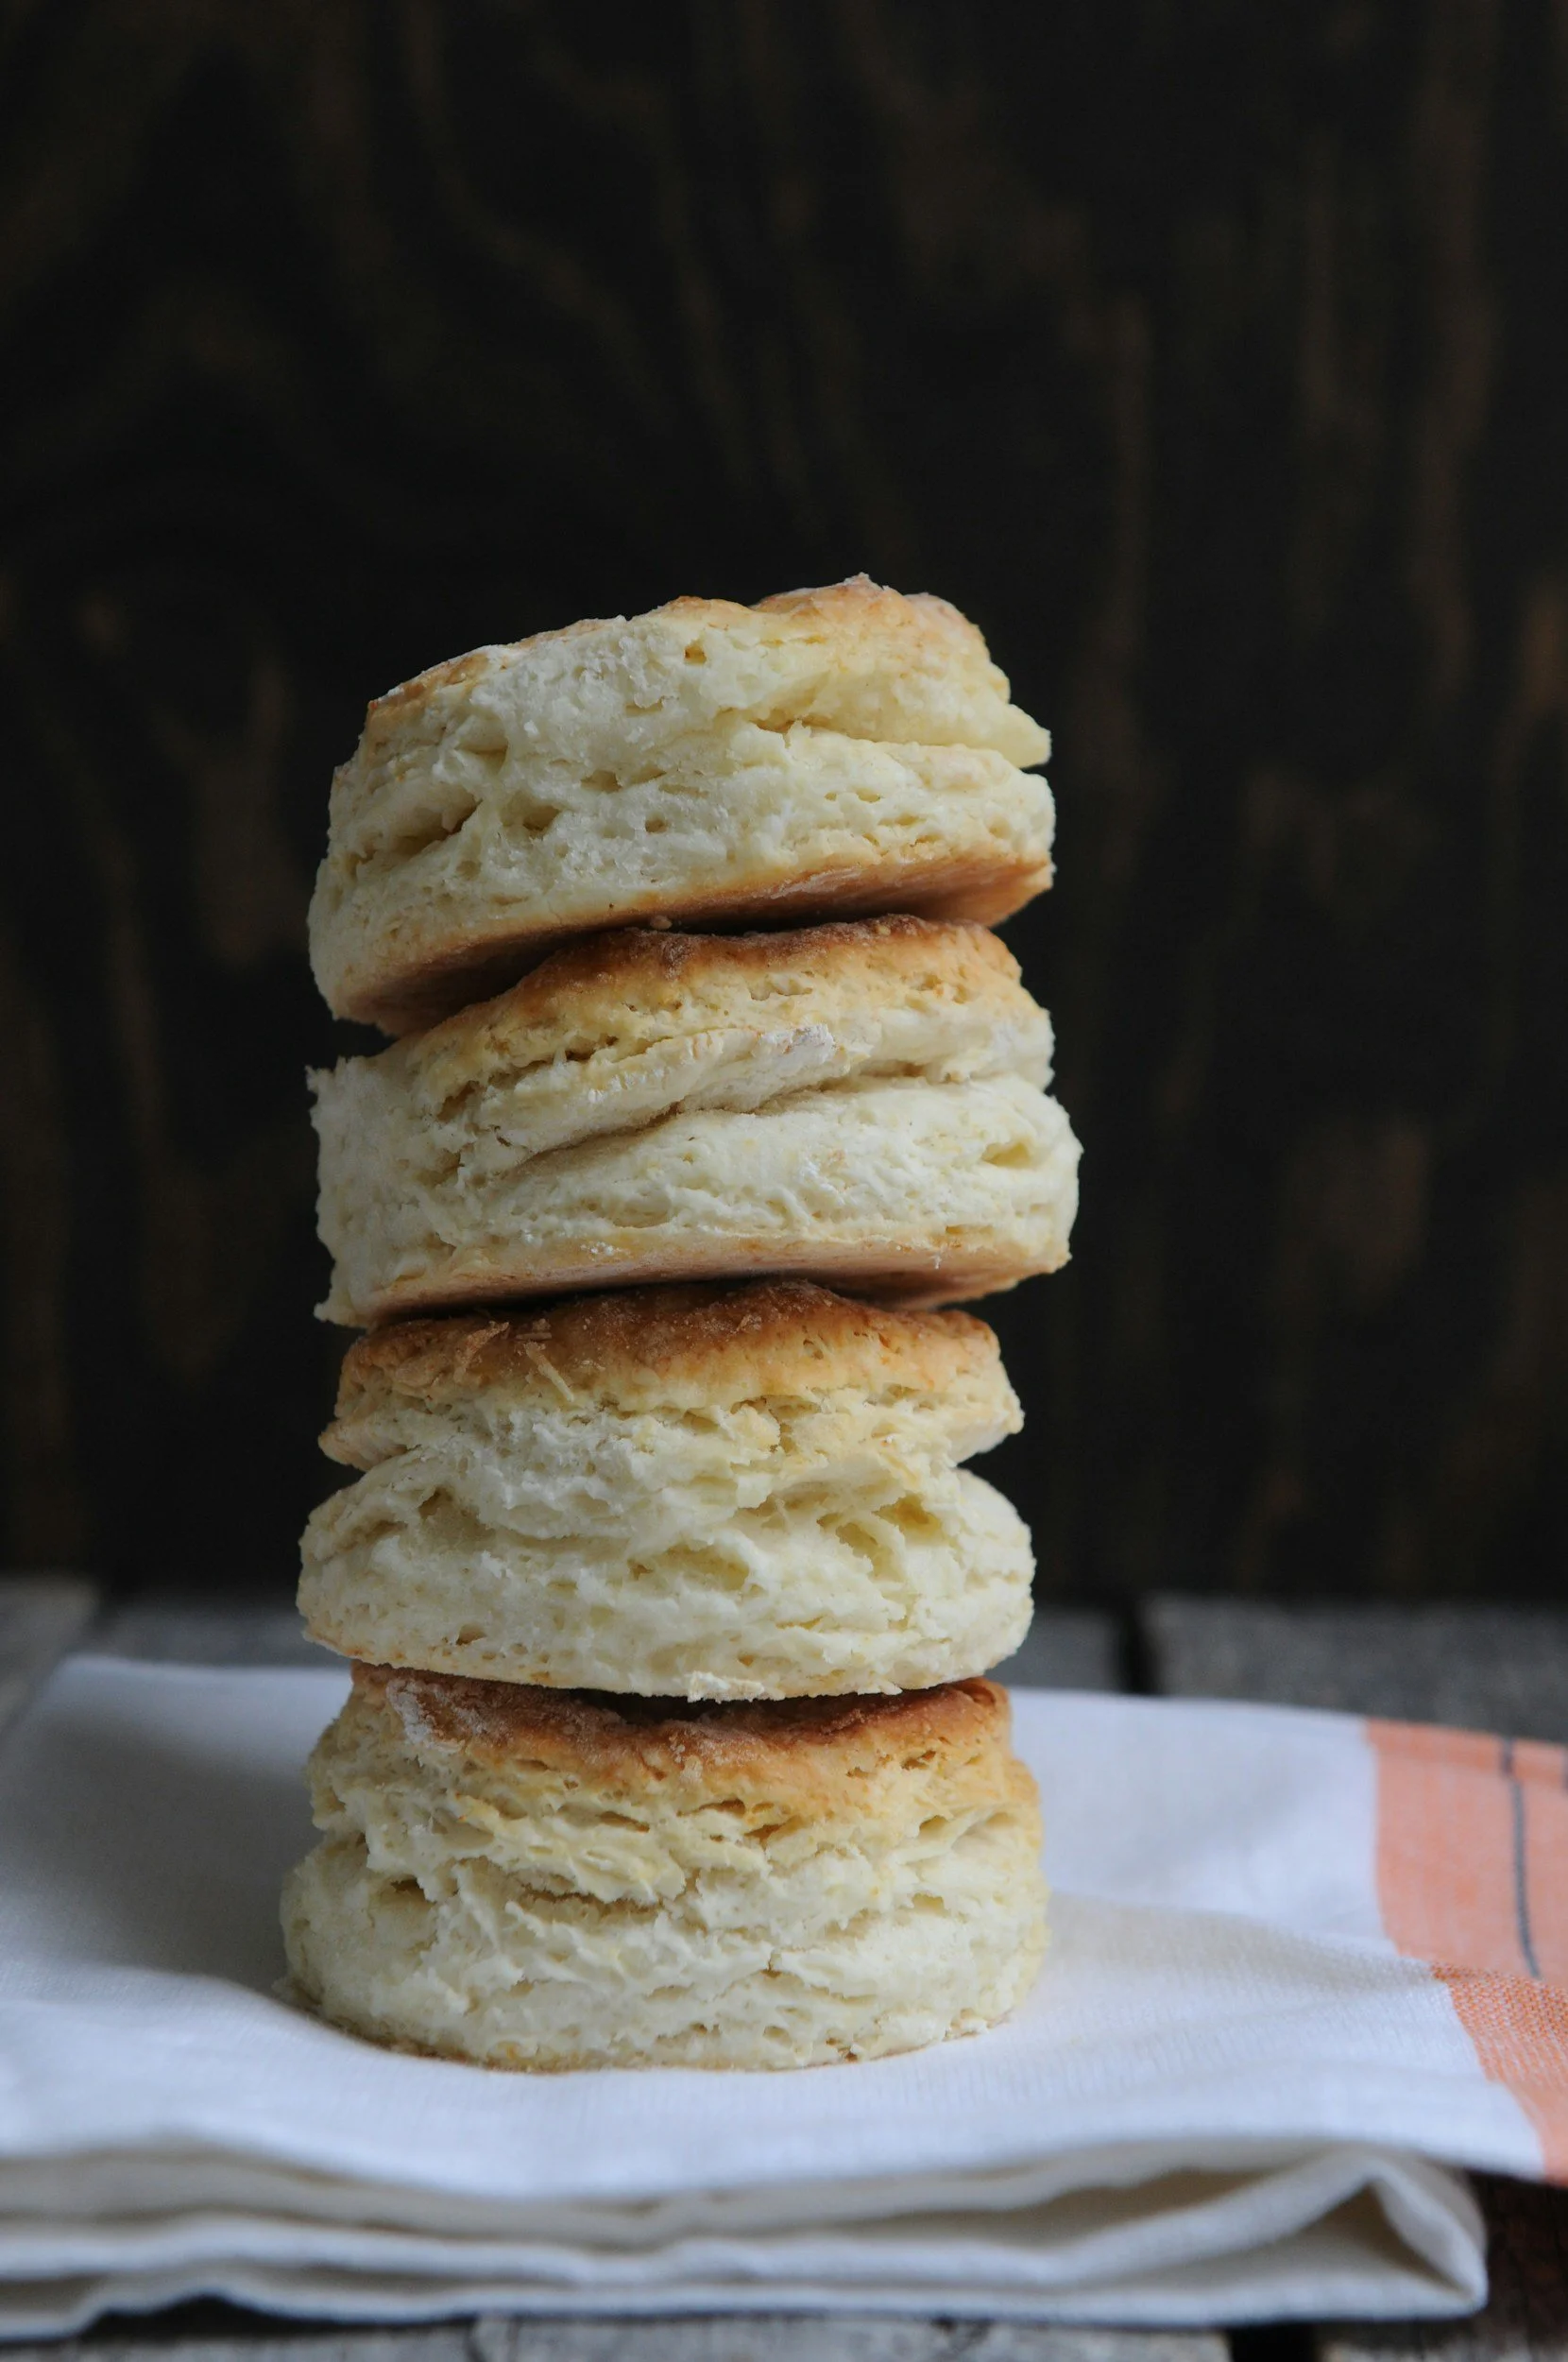
Biscuits and scones may look simple, but there is quite a bit of baking science happening inside that dough.
The Biscuit Method—sometimes called the Cut-In Method—is designed to create a baked product that is tender, flaky, and often visibly layered.
The defining feature of this method is simple:
Cold, solid fat is worked into the dry ingredients BEFORE the liquid is added.
That one step is what separates the Biscuit Method from methods such as the Muffin Method.
So, what is actually happening?
STEP 1: COMBINE THE DRY INGREDIENTS
Begin by thoroughly combining the flour, leavening, salt, sugar, and any other dry ingredients in the formula. Sift and/or whisk the dry ingredients together.
This is more important than it may seem.
Once liquid is added to biscuit or scone dough, we want very little mixing. Therefore, the baking powder, baking soda, salt, and other dry ingredients need to be evenly distributed before we ever introduce the liquid.
STEP 2: CUT IN THE COLD FAT
Cold butter, shortening, or another solid fat is added directly to the dry ingredients.
The fat can be incorporated with a pastry blender, fingertips, food processor, or mixer, depending on the formula and the quantity being produced.
But here is the important part:
We do NOT want the butter completely blended into the flour.
For flaky biscuits and scones, we actually want some visible pieces of cold butter remaining.
Smaller pieces of butter tend to create a more uniform, tender crumb.
Larger or flattened pieces of butter encourage more pronounced flakiness and layering.
Smaller or larger pieces of butter are your personal preference. Once you’ve made biscuits/scones a few times, you will determine what you like best.
WHY DOES THIS WORK?
The butter is doing two important jobs.
First, fat coats some of the flour particles. This limits how much of that flour can hydrate and helps control gluten development, contributing to tenderness.
Second, those little pieces and flakes of cold butter create physical separation within the dough.
When the biscuits enter the hot oven, the butter begins to melt and the water contained in the butter produces steam.
That steam helps push the layers of dough apart.
This is why we can get those beautiful flaky layers.
The concept is somewhat similar to lamination, although biscuit dough is obviously much less precisely laminated than croissant or puff pastry dough.
Think:
Cold butter + minimal handling + folding = flaky layers.
And this is also why keeping the butter cold matters so much.
If the butter melts before the biscuits reach the oven, we lose much of the benefit we worked so hard to create.
STEP 3: ADD THE COLD LIQUID
Once the fat has been cut into the flour, the cold liquid is added.
Depending on the formula, this might be milk, buttermilk, cream, or another liquid.
And now something very important changes.
The moment liquid contacts flour; gluten development becomes possible.
From this point forward, we want to handle the dough as little as necessary.
Mix just until the flour is hydrated enough for the dough to begin coming together.
The dough may look rough.
It may look shaggy.
It may even look a little unfinished.
That is okay!
One of the most common mistakes beginning bakers make is continuing to mix because they think the dough should become perfectly smooth.
A beautifully smooth biscuit dough is an overworked biscuit dough.
STEP 4: BRING THE DOUGH TOGETHER
Turn the shaggy dough onto your work surface and gently bring everything together.
IMPORTANT: Do not add an excessive amount of extra bench flour. This will dry out your product!!!
Do not knead it like bread dough.
Bread dough is kneaded because we WANT to develop a strong gluten network.
Biscuits and scones are handled gently because we DON'T want excessive gluten development.
That is an important distinction.
STEP 5: CREATE THE LAYERS
If you want flaky, layered biscuits, this is where you can intentionally create them.
Gently pat the dough into a rectangle.
Fold it into thirds, similar to folding a business letter.
Turn the dough and gently flatten it again.
Repeat this approximately two or three times.
Every fold reorganizes the dough and the pieces of butter into additional layers.
You are essentially creating a very simple form of lamination.
But more is NOT better.
Too many folds can develop excessive gluten, warm the butter, and compress the dough.
A few deliberate folds are generally all you need.
STEP 6: CUT AND SHAPE
Pat or roll the dough to the desired thickness.
Remember that if you want a tall biscuit, you need to start with dough that has some height. Dough that has been rolled very thin cannot magically produce a dramatically tall biscuit.
If you're using a round biscuit cutter:
Press straight down and lift straight up.
Do not twist the cutter.
Twisting can compress and seal the edges of the dough and interfere with its ability to rise freely.
A sharp cutter gives you the cleanest edges and the best opportunity for those layers to expand.
Square biscuits are another great option because you can cut them with a sharp bench knife and eliminate scraps.
I don’t want leftover scraps of dough so my biscuits are always squares or rectangles. I want no waste!
SO, WHAT ABOUT THE SCRAPS?
Yes, you can gently press scraps together and cut additional biscuits.
But those biscuits will rarely be quite as beautiful or tender as the first ones.
Why?
The dough has already been handled.
The gluten has developed further.
The original layers have been disturbed.
And the butter has probably warmed.
Your first cuts are generally your best biscuits.
KEEP IT COLD
If your dough becomes noticeably warm while you're working with it, put the shaped biscuits or scones into the refrigerator before baking.
You want that butter solid when the dough enters the oven. I will always put my cut dough back into the fridge to let it set up again and get cold.
Cold dough meeting a properly preheated hot oven gives you the best opportunity for excellent oven spring and distinct layers.
WHAT HAPPENS IN THE OVEN?
This is where all of our careful preparation pays off.
The chemical leaveners begin producing gas.
Water turns to steam.
The butter melts.
Steam and expanding gases begin pushing the dough upward and separating the layers.
Proteins coagulate.
Starches gelatinize.
The structure sets.
And finally, the exterior browns and develops flavor.
That beautiful biscuit didn't "just rise."
There's a whole lot of baking science happening in there!
SO...WHAT IS THE DIFFERENCE BETWEEN A BISCUIT AND A SCONE?
This can get confusing because biscuits and scones can use essentially the SAME mixing method.
The difference is generally in the formula and the finished product we're trying to achieve.
American-style biscuits are usually relatively lean, only mildly sweet or completely savory, and often made with milk or buttermilk.
Scones are frequently richer and sweeter and may contain cream, eggs, additional sugar, dried or fresh fruit, chocolate, nuts, or other inclusions.
So, remember:
The mixing METHOD can be the same even though the finished PRODUCTS are different.
A method tells us HOW ingredients are combined.
A formula tells us WHAT ingredients—and how much of them—we're using.
BISCUIT METHOD VS. MUFFIN METHOD
These two methods share one very important rule:
Once the flour is hydrated, DON'T overmix it.
But the reason we handle the fat differently is important.
In the Muffin Method, the fat is usually melted or liquid and is combined with the wet ingredients. The wet and dry mixtures are then brought together with minimal mixing.
Our primary concern is controlling gluten development so we maintain a tender crumb.
In the Biscuit Method, cold solid fat is cut directly into the dry ingredients BEFORE the liquid is added.
We still want to control gluten development, but now we have another goal:
We want to preserve those cold pieces of butter.
Those pieces of butter contribute to the flaky, layered structure of the finished biscuit or scone.
So, here's an easy way to remember the difference:
MUFFINS: Mix as little as necessary.
BISCUITS & SCONES: Mix and handle as little as necessary—and KEEP IT COLD!
Biscuit & Scone Troubleshooting
MY BISCUITS ARE TOUGH
The dough was probably overmixed or overhandled.
Too much kneading, rolling, folding, or reworking develops too much gluten.
Use a light hand and stop working the dough once it has come together.
I DON'T HAVE FLAKY LAYERS
Your butter may have been incorporated too finely or became too warm and smeared completely into the flour.
Leave some visible pieces of cold butter and use a few controlled folds to encourage layering.
MY BUTTER LEAKED ALL OVER THE PAN
A small amount of butter leakage isn't necessarily disastrous, but a large pool of melted butter usually indicates a problem.
The dough or butter may have become too warm, the butter pieces may have been excessively large, or the oven may not have been hot enough.
Chill the dough and make sure the oven is completely preheated.
MY BISCUITS SPREAD INSTEAD OF RISING UP
Check the temperature of your dough and your oven.
Warm butter, too much liquid, weak or expired leavening, or an oven that isn't hot enough can all contribute to spreading.
MY BISCUITS LEAN TO ONE SIDE
A little leaning can actually be evidence of strong layering.
But dramatic leaning can result from uneven dough thickness, uneven folding, a dull cutter, or twisting the cutter while cutting.
Remember: straight DOWN and straight UP.
MY BISCUITS ARE DENSE
Check your baking powder first!
Old or inactive leavening can dramatically reduce rise.
Other possibilities include overworking the dough, allowing the butter to become too warm, rolling the dough too thin, or baking in an oven that isn't sufficiently hot.
And yes—sometimes someone simply forgot the baking powder. It happens!
MY BISCUITS ARE DRY
Too much flour is one of the most common causes.
Be careful with bench flour when shaping your dough.
A dough that feels slightly tacky is usually preferable to one that has been loaded with additional flour.
Overbaking can also produce a dry biscuit.
MY BISCUITS FALL APART
This can happen when we take "don't overmix" a little too far.
Minimal mixing doesn't mean NO mixing.
The flour still needs enough hydration and gentle handling to create a cohesive dough.
MY SCONES ARE DRY
Scones are particularly easy to overbake.
Too much flour, insufficient liquid or cream, excessive handling, or simply leaving them in the oven too long can all produce a dry scone.
MY SCONES SPREAD
The dough may have become too warm.
Too much liquid, excessive sugar, warm butter, or an imbalanced formula can also contribute.
Try chilling your shaped scones before baking.
MY SCONES ARE CAKEY INSTEAD OF FLAKY
Depending on the style of scone, this isn't necessarily wrong.
But if you're trying to create a flaky scone, look at your butter.
If the butter was incorporated too finely or became soft and completely blended into the dough, you'll lose much of the layering.
A formula containing more egg and liquid can also naturally produce a more cake-like crumb.
The Big Takeaway
The Biscuit Method is about more than simply "cutting butter into flour."
We're controlling TWO things at the same time:
Gluten development and butter temperature.
Minimal handling limits gluten development and keeps the finished product tender.
Keeping the butter cold preserves those little pockets and layers of fat that contribute to flakiness and lift.
So, when you're making biscuits or scones, remember:
Keep your ingredients cold.
Leave some butter pieces intact.
Add the liquid last.
Mix gently.
Fold intentionally.
Handle minimally.
Bake in a properly preheated oven.
And most importantly...
Don't keep working the dough just because it doesn't look perfect.
Sometimes that shaggy, slightly messy-looking dough is exactly what you want.
Happy Baking from the Caboodle Kitchen!!!