
Pâte à Choux: Understanding the Method, the Science, and the Technique
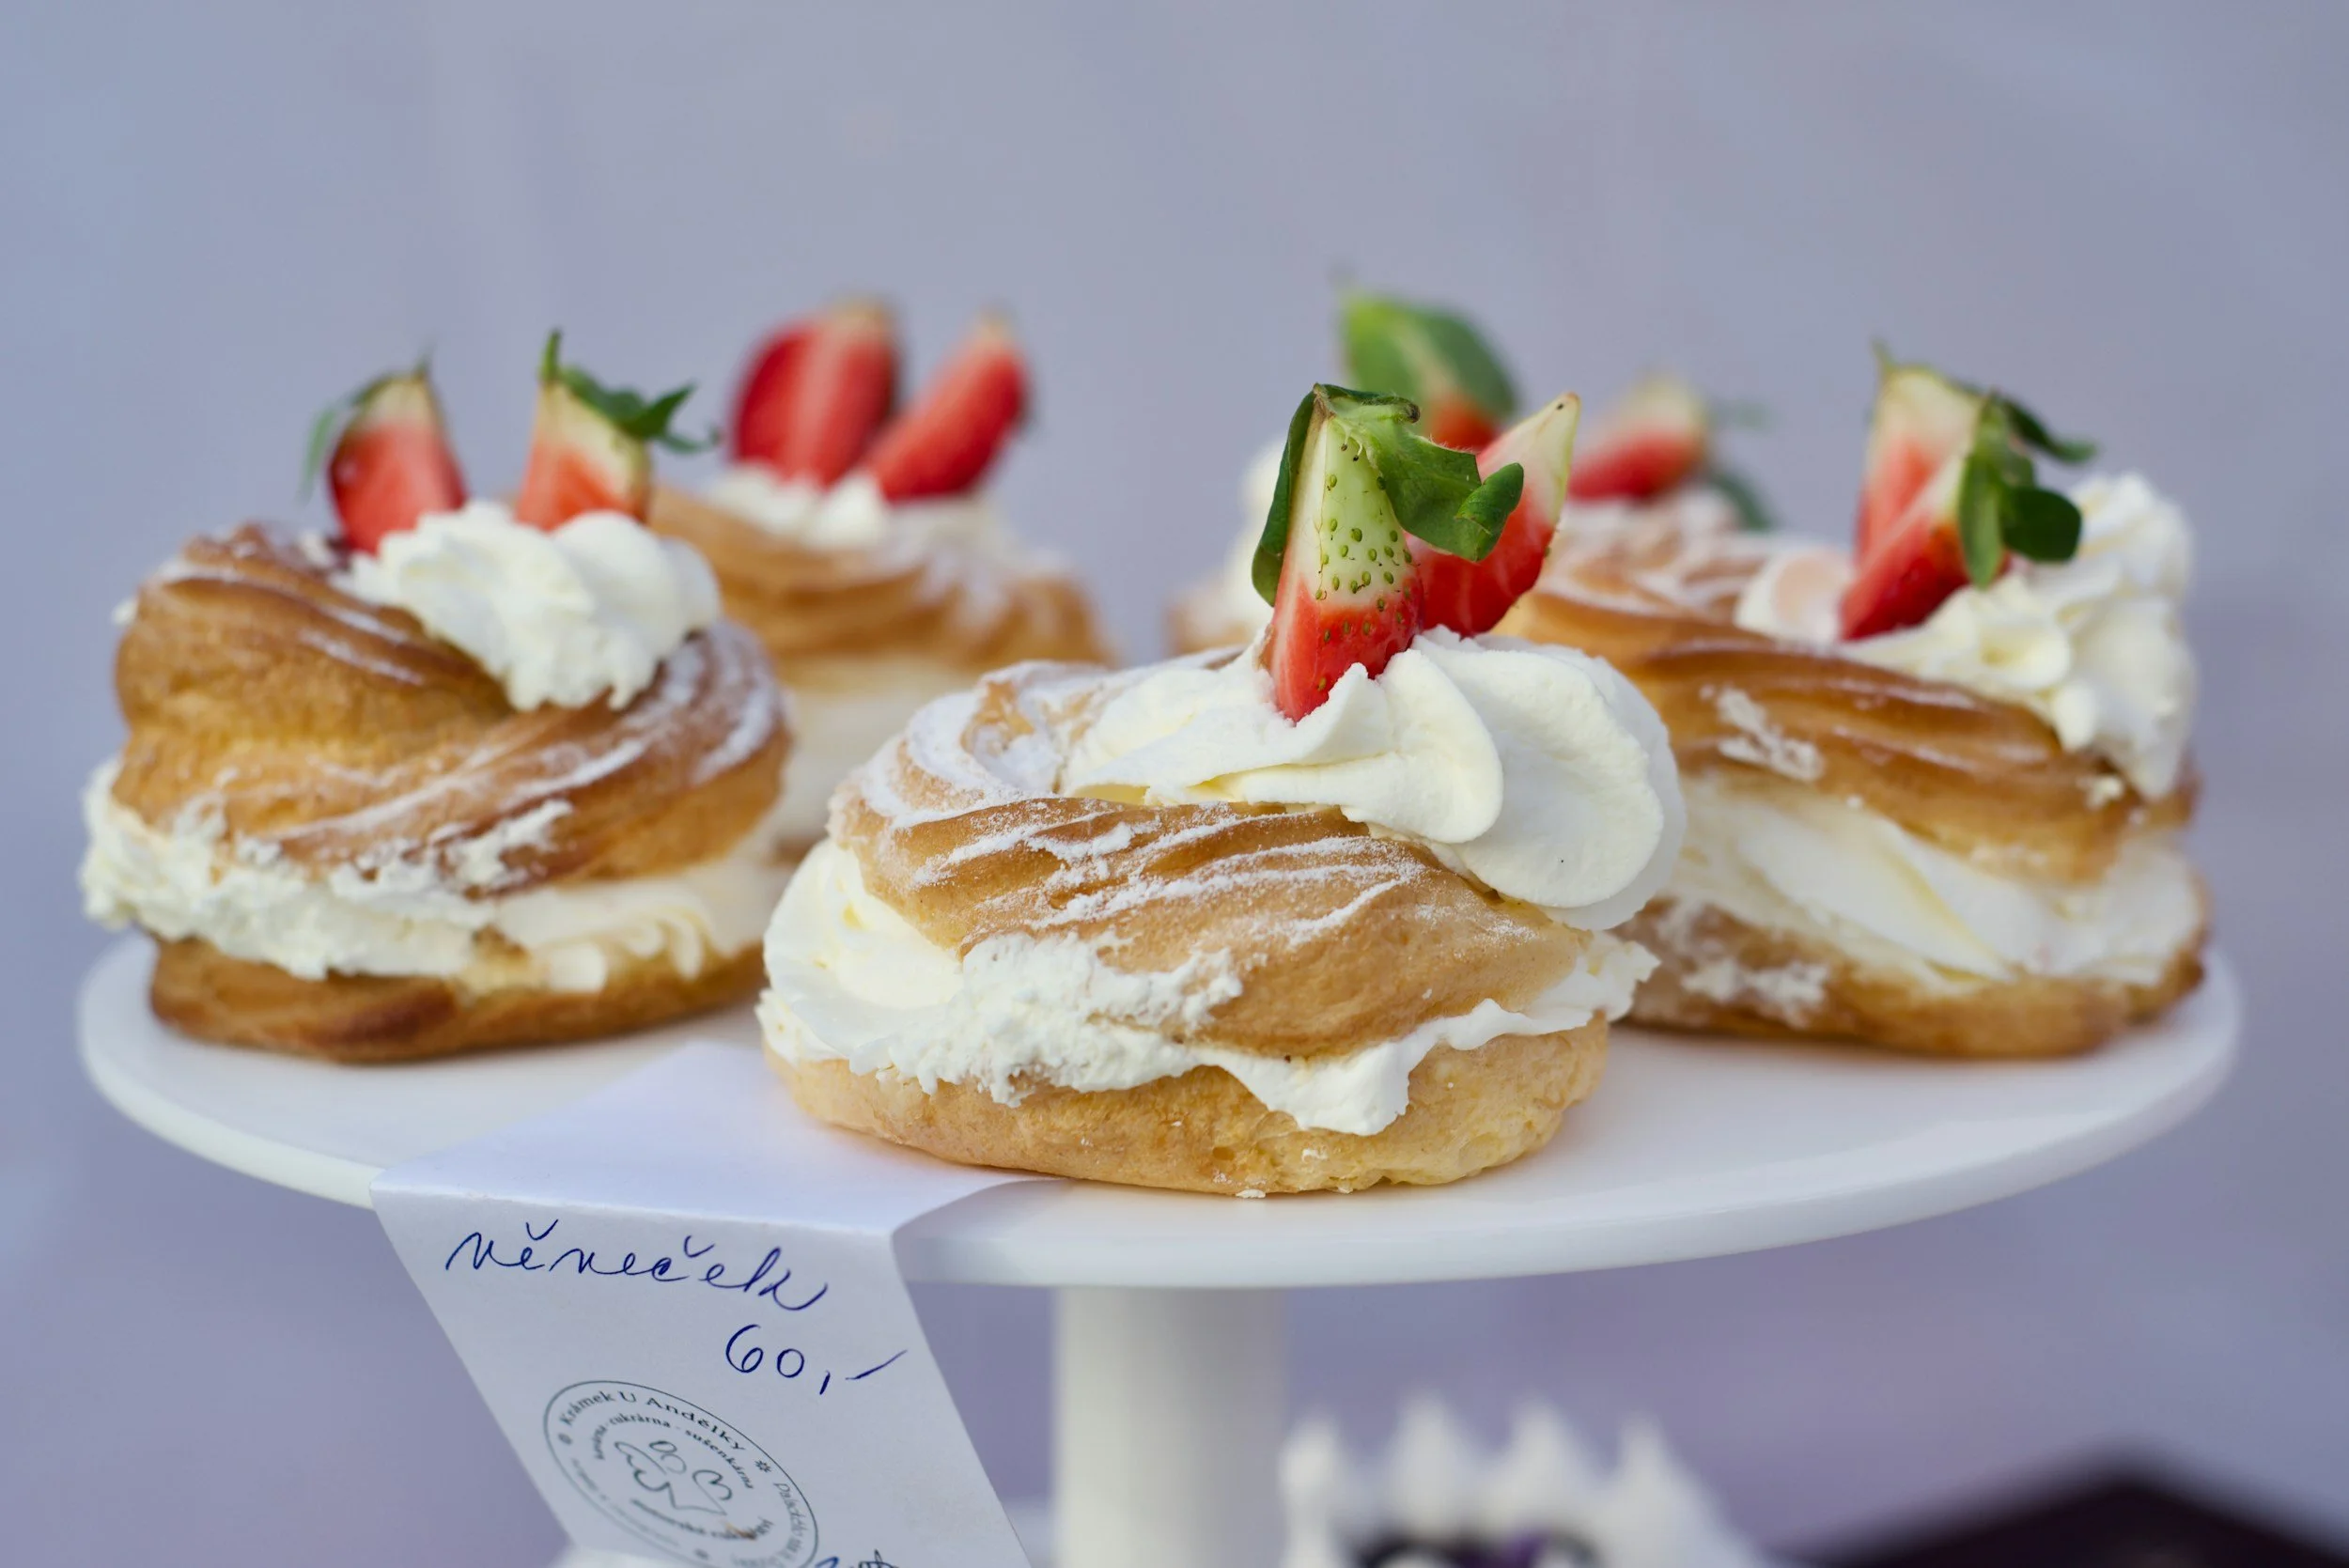
Pâte à choux is one of those pastry techniques that can look almost magical the first time you see it happen. A fairly dense paste goes into the oven, and without yeast, baking powder, or baking soda, it expands into a beautifully puffed pastry with a crisp exterior and a hollow center ready to be filled.
But there really isn't any magic involved. Pâte à choux is a wonderful example of pastry science at work.
The rise comes primarily from steam, and nearly every step in the method is designed to create a dough capable of producing that steam, stretching around it, and then setting firmly enough to hold its shape.
Pâte à choux is used to make cream puffs, profiteroles, éclairs, Paris-Brest, gougères, crullers, and many other classic pastries. Although the finished products may look very different, they all begin with essentially the same technique.
The secret to good pâte à choux isn't simply following a recipe. It is learning how the dough is supposed to look and feel at each stage.
What Makes Pâte à Choux Different?
Most doughs and batters are mixed and then baked. Pâte à choux is different because the dough is actually cooked before it ever enters the oven.
The process happens in two major stages:
First, we cook the flour with the liquid and butter on the stovetop to make the panade.
Then, we incorporate eggs into the cooked panade and bake the finished paste, where steam provides the leavening.
That first cooking stage changes the flour dramatically. The starch granules absorb liquid and gelatinize, allowing the dough to eventually accept a substantial amount of egg while still maintaining enough structure to be piped.
That balance between moisture and structure is the foundation of pâte à choux.
Step 1: Heat the Liquid, Butter, Salt, and Sugar
Pâte à choux typically begins with water, milk, or a combination of the two, along with butter and salt. Some formulas also contain a small amount of sugar, particularly when the finished choux will be used for a sweet application.
Water produces a somewhat crisper shell, while milk contributes additional flavor, color, and tenderness because of its milk proteins and sugars. Many formulas use a combination of the two.
Place the liquid, butter, salt, and sugar, if using, into a saucepan and bring the mixture to a full boil.
I prefer to cut the butter into smaller pieces before adding it to the pan. This allows the butter to melt at approximately the same time the liquid reaches a boil.
This is more important than it may seem.
If you place one large cold piece of butter into the liquid, the liquid may boil for an extended period while you're waiting for the butter to finish melting. During that time, water is evaporating. That changes the liquid-to-flour ratio before you've even added the flour.
You want the butter completely melted and dispersed through the liquid when the mixture reaches the boil.
Step 2: Add the Flour All at Once
Once the liquid reaches a full boil, add the flour all at once.
Immediately begin stirring vigorously.
The mixture will thicken very quickly and begin coming together into a mass. Continue stirring and cooking until the dough pulls away from the sides of the saucepan and forms a cohesive ball.
At this stage, you have created what is called the panade.
This isn't simply flour mixed with hot water. Heat causes the starch in the flour to gelatinize. The starch granules absorb moisture, swell, and help create the structure that will eventually allow the dough to accept the eggs.
Without properly cooking the flour at this stage, the pâte à choux cannot develop correctly.
Step 3: Dry the Panade
Once the dough has formed, continue cooking and stirring it over the heat.
This is sometimes called drying the panade.
You're not trying to dry it completely. You're simply cooking off some of the excess moisture.
Depending upon the size of the batch and the type of saucepan you're using, this may take approximately 1 to 3 minutes.
If you're using a stainless-steel saucepan, you may notice a thin film beginning to develop across the bottom of the pan. That can be a useful visual indication that you're getting close.
But don't rely on the film alone.
The dough itself should become smooth and cohesive and should pull cleanly away from the sides of the saucepan.
This stage has a direct effect on what happens later when the eggs are added.
A panade that retains more moisture will generally require less egg.
A panade that has been cooked slightly drier may accept more egg.
And that brings us to one of the most important lessons in making pâte à choux:
The amount of egg listed in the recipe is a guide. The consistency of the dough determines how much egg you actually need.
Step 4: Transfer the Panade to the Mixer
Transfer the hot panade to the bowl of a stand mixer fitted with the paddle attachment.
Mix briefly on low speed.
At this point, we're allowing some of the excess heat and steam to escape before adding the eggs.
The goal isn't to make the panade cold.
We simply don't want it so hot that it begins cooking the eggs the moment they hit the bowl.
The panade should still be warm, but it should no longer be aggressively steaming.
Step 5: Add Whole Eggs — One at a Time
This is the way I prefer to incorporate my eggs into pâte à choux:
I do not beat the eggs together first. I leave the eggs whole and add them one at a time.
With the mixer running at low to medium-low speed, add the first whole egg and allow it to incorporate before adding the next.
Don't panic when you see what happens.
The beautiful smooth panade may suddenly look broken, slippery, chunky, or almost curdled.
That's normal.
Keep mixing.
The dough will gradually absorb the egg and come back together.
Once the first egg has been incorporated, add the next whole egg and repeat the process.
As you continue adding eggs, you'll notice the dough gradually becoming softer, smoother, shinier, and more elastic.
This is where you need to begin paying close attention.
Do not assume that because the recipe lists a certain number of eggs, every egg automatically belongs in the bowl.
Humidity, flour absorption, egg size, evaporation during cooking, and how thoroughly you dried the panade can all affect the final amount of egg required.
As I approach the final egg called for in the formula, I stop and evaluate the dough before automatically adding it.
If the dough needs it, I add it.
If the consistency is already correct, I don't.
That judgment is part of learning the pâte à choux method.
Step 6: Learn the "V" Test
Finished pâte à choux should be smooth, glossy, elastic, and pipeable.
One of the easiest ways to evaluate it is the V test.
Lift the paddle from the bowl and allow the dough to fall from it.
The paste should slowly fall from the paddle, leaving a thick piece of dough hanging from the end in the shape of a V.
It should not stand stiffly on the paddle.
But it shouldn't pour from it like cake batter, either.
You're looking for something in between: a paste that is soft enough to pipe and expand but strong enough to hold its shape.
This is the point where I want students to stop thinking strictly in terms of a recipe and start thinking like bakers.
The recipe gives you the formula. The dough tells you when it's ready.
What Happens if You Add Too Much Egg?
This is an important pâte à choux lesson because it is very difficult to reverse.
If you add too much egg, the paste becomes loose and runny. When piped, it spreads instead of maintaining its shape, and it may never develop the structure necessary to rise properly.
And you cannot properly fix an overly wet pâte à choux by simply dumping raw flour into it.
Remember—the flour in pâte à choux was cooked with the liquid to create a gelatinized panade. Adding raw flour at the end changes the entire structure of the dough.
This is why the final egg should always be treated cautiously.
Step 7: Pipe the Choux
Once the consistency is correct, transfer the paste to a piping bag fitted with the appropriate tip.
The shape will depend upon what you're making.
Cream puffs and profiteroles are piped into rounds.
Éclairs are piped into long, even cylinders.
Paris-Brest is traditionally piped into rings.
Gougères are generally piped into smaller rounds.
Whatever the shape, consistent piping matters.
If some pieces are large and others are small, they won't bake at the same rate.
For cream puffs, hold the piping bag relatively upright and apply steady pressure. When you've reached the desired size, stop squeezing before lifting the piping tip away.
If a small point remains on top, simply dampen your fingertip with water and gently press it down.
Step 8: The Oven Is Where the Magic Happens
Now the science becomes visible.
Pâte à choux contains a significant amount of moisture from both the liquid and the eggs.
As the pastry enters the hot oven, that moisture heats rapidly and begins converting into steam.
Steam expands.
As it pushes outward, the flexible choux paste stretches around it, causing the pastry to inflate dramatically.
Meanwhile, the starch structure continues to set and the proteins from the eggs coagulate.
Eventually, the expanding pastry develops enough structure to support itself.
This is why pâte à choux doesn't need baking powder, baking soda, or yeast.
Steam is the primary leavening force.
But there's another part of this process that's just as important.
The pastry doesn't simply need to rise.
It has to dry.
Step 9: Don't Open the Oven Too Soon
This is one of the most common mistakes when making pâte à choux.
You look through the oven window and see enormous, beautiful cream puffs.
Naturally, you want to open the door and check them.
Don't.
At least not yet.
During the early stages of baking, the pastry is inflated with steam, but its structure may not be completely set.
Opening the oven door causes a sudden drop in temperature. If the walls of the pastry haven't developed enough strength to support themselves, those gorgeous puffs can collapse.
Let the choux complete its initial expansion and begin developing structure before opening the oven.
Depending upon the particular formula, the oven temperature may then be reduced to allow the pastries to continue baking and drying without becoming excessively dark.
Step 10: Puffed Does Not Mean Baked
This may be the single most important oven lesson in pâte à choux.
A cream puff can be enormous and beautiful and still be underdone inside.
The first portion of baking creates expansion.
The second portion creates stability.
Moisture must continue escaping while the starch and egg structure sets and the exterior develops into a firm shell.
Properly baked pâte à choux should have good golden-brown color. Pale choux is often underbaked choux.
Don't pull it simply because it has puffed.
I would much rather see a cream puff with a rich golden exterior than a pale cream puff that collapses five minutes after leaving the oven.
For larger choux pastries, a small hole can also be made toward the end of baking to allow additional steam to escape. The pastry can then continue drying briefly in the oven.
When properly baked and opened, the shell should contain a large hollow cavity with relatively thin, dry walls—exactly what we need for pastry cream, diplomat cream, mousseline, Chantilly, or whatever filling we're using.
A Simple Way to Remember the Entire Method
Think of pâte à choux as four major jobs:
COOK — DRY — EMULSIFY — BAKE & DRY
COOK the flour to create the panade.
DRY the panade enough to prepare it for the eggs.
EMULSIFY the eggs into the panade one whole egg at a time, stopping when the consistency is correct.
Then BAKE and DRY the pastry until steam has expanded it and the shell has developed enough structure to remain standing.
If you understand those four jobs, pâte à choux becomes much less mysterious.
Pâte à Choux Troubleshooting Guide
I've intentionally kept this troubleshooting section out of a chart. It's much easier to copy, paste, and read in a Facebook post or blog this way.
MY CHOUX SPREADS INSTEAD OF RISING
Likely cause: The paste contains too much egg or the panade wasn't dried sufficiently.
What to do: Add the eggs one at a time and evaluate the dough carefully as you approach the final egg. Stop when you achieve the proper V consistency.
MY CHOUX ISN'T RISING VERY MUCH
Likely cause: The paste may be too stiff because it doesn't contain enough egg.
What to do: Pay attention to the V test. Proper choux should be smooth, glossy, elastic, and soft enough to slowly fall from the paddle.
MY CREAM PUFFS LOOK BEAUTIFUL IN THE OVEN BUT COLLAPSE AFTERWARD
Likely cause: They were probably underbaked.
They expanded successfully, but the interior walls didn't dry and set sufficiently to support the pastry once the steam escaped.
What to do: Bake longer. Look for a well-developed golden-brown exterior rather than judging doneness only by size.
MY CHOUX IS WET OR GUMMY INSIDE
Likely cause: Insufficient drying during baking.
What to do: Continue baking at a lower temperature after the initial expansion, if appropriate for your formula. Larger pieces can also be vented near the end of baking to release trapped steam.
MY CHOUX HAS A VERY THICK, HEAVY SHELL
Likely cause: The paste may have been too dry or may not have contained enough egg.
What to do: Evaluate the dough before piping. A stiff paste that barely moves from the paddle probably needs additional egg.
MY CHOUX CRACKS BADLY
Some cracking is completely normal—especially with cream puffs—but excessive splitting can indicate that the paste was too stiff, the oven was too hot, or the pieces were piped inconsistently.
What to do: Check the consistency of your paste, verify your oven temperature, and pipe evenly.
MY ÉCLAIRS ARE CROOKED
Likely cause: Uneven piping pressure or uneven oven heat.
What to do: Keep the piping bag at a consistent angle and use steady pressure from beginning to end. If the pan needs to be rotated, wait until the choux structure has set before opening the oven.
MY CREAM PUFFS HAVE LITTLE POINTS ON TOP
Likely cause: You continued squeezing while pulling the piping bag away.
What to do: Stop applying pressure first, then lift the piping tip. Any remaining point can be gently flattened with a damp fingertip before baking.
MY DOUGH LOOKS CURDLED WHEN I ADD AN EGG
Don't panic.
This is usually completely normal.
When a whole egg first enters the panade, the mixture can look separated, slippery, and broken. Continue mixing and give the panade time to absorb the egg. It should come back together before you add the next egg.
I ADDED TOO MUCH EGG AND NOW MY CHOUX IS RUNNY
Unfortunately, this is one of the more difficult pâte à choux mistakes to correct.
Do not simply add raw flour.
The flour needs to be cooked as part of the panade. Raw flour added to finished choux paste won't behave the same way.
This is why I slow down as I approach that final egg and evaluate the paste before adding it.
MY CHOUX IS CRISP WHEN IT COMES OUT OF THE OVEN BUT SOFTENS LATER
Likely cause: Pâte à choux readily absorbs moisture from the air.
What to do: Unfilled shells can usually be refreshed for several minutes in a moderate oven to restore some crispness. Allow them to cool before filling.
The Three Things I Want You to Remember
If you remember nothing else about pâte à choux, remember these three things:
1. Properly cook and dry your panade.
The amount of moisture remaining in that panade affects everything that happens next.
2. Add your eggs one at a time and let the dough—not simply the recipe—tell you when to stop.
Learn the V test. It's one of the most valuable visual cues in pâte à choux.
3. Puffed does not mean finished.
The steam makes pâte à choux rise, but proper baking and drying are what keep it standing.
Once you understand those three principles, you're no longer simply following a pâte à choux recipe.
You understand the method.